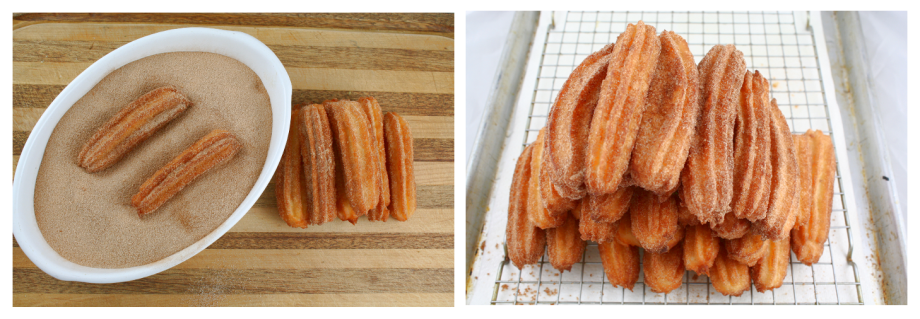
little homemade churros

churrosychoc

I learned to fully appreciate churros at a restaurant in San Miguel de Allende, Mexico aptly named Chocolate y Churros.  You ordered your preferred flavor of hot chocolate (Mexican, milk, dark, spicy, etc) and they brought it to you, thick and chocolatey, in a deep mug along with three churros fresh from the fryer.  Hea-ven. I’ve tried churros since, here and there at a fair or boardwalk and they’ve never lived up to memory.  Churros, like donuts, I decided, must be eaten minutes minutes out the hot oil to live up their full delicious potential.  Here’s how to make them yourselves:

Ingredients:

dough:

2 tbsp. unsalted butter

2 tbsp. sugar

1 1/2 tsp. kosher salt

1 cup plus 2 tbsp. all purpose flour

2 large eggs

1-2 quarts vegetable oil for frying

cinnamon sugar:

1 cup sugar

1 tsp. cinnamon

1.) The churro dough is basically a pâte á choux, which is the same type of dough used to make many pastries- it sounds tricky to make, but don’t worry, it isn’t! Whisk together the butter, sugar, salt and 1 1/4 cups water in a pot over a medium heat.  Bring the mixture to a simmer, stirring consistently until butter is melted.  Remove the pot from the heat and mix in the flour, incorporating fully before returning the pot to the heat.  Continue to stir until the mixture is smooth and sticky (about 1 minute).  Remove pot from heat and cover, letting the dough rest for 15 minutes.

2.) While your dough is resting, fill a heavy pot with about three inches of oil and begin to heat.  Near where you are going to fry your churros, set up a cookie sheet covered with paper towels or empty egg cartons to place the churros right after they come out of the hot oil.  Also, mix together your cinnamon sugar.

3.) After resting, add the eggs 1 at a time, stirring by hand or with in a mixer until completely combined after each addition.  Spoon finished dough into a pastry bag with a star tip.

4.) To fry the churros, squeeze the batter into your hot oil (about 350°) and use a knife or scissors to cut the end off from the pastry bag.  I would recommend starting with one tester churro to make sure the oil is the right temp and so you can see how long they take to cook.  Otherwise, you can fry multiple churros at a time, just make sure not to add so many that they stick together in the pan.  It’s important to turn and move churros in the pan while frying so they don’t brown too much on one side.  Once they’re golden brown and cooked in the middle, place on your drying tray and start frying your next batch.

5.) After churros are fried and not too hot to touch, coat them with cinnamon sugar- don’t wait too long or the sugar won’t stick as well!  Enjoy with your hot chocolate of choice!

churro2

IMG_2092

xoxo, Keya

a little fiesta sangria recipe

IMG_4745

As summer begins to wind down, I have been looking for ways to take advantage of all the wonderful fruit in season and mixing them with wine seems like the perfect way to do just that.  With Fiesta celebrations in Santa Barbara this past weekend, what better time to make a fresh batch of sangria?!

ingredients:

2 bottles of red wine (a cheap house wine works great)

4 tbs. sugar

1 large can of pineapple chunks (with the juice)

3 oranges

3 lemons

2 limes

1 basket strawberries

1 liter ginger ale

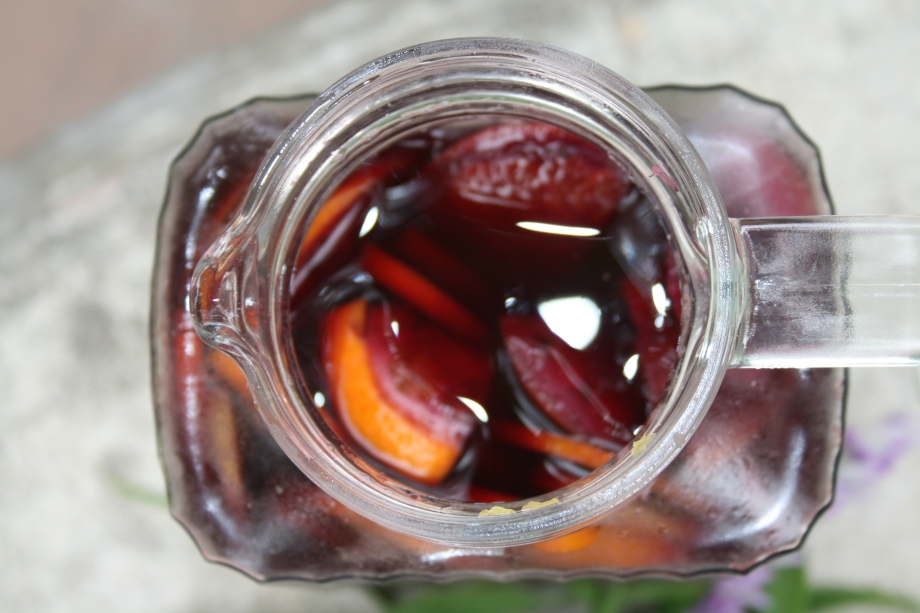
Pour both bottles of red wine into a large pitcher and add the sugar.  Stir until the sugar has dissolved and squeeze the juice from 2 of the oranges, 2 of the lemons, and 1 of the limes into the wine.  Add the can of pineapple chunks including the juice and slice the rest of the fruit into wedges (trying to get out as much of the seeds as possible). Add the orange, lemon, and lime slices and chill in the fridge overnight.  Add  strawberries, ginger ale, and ice right before serving.  If you do not have the time to let it sit overnight, just make sure to serve it over lots of ice.

IMG_4750

This recipe is really easy to make,  delicious, and perfect for summer gatherings with friends! Viva la fiesta!

xoxo,

Erica

diy cold pressed iced coffee

photo (9)

Iced coffee is….what? An art, a passion…a lifestyle?! I shall leave it up to the gods to decide, but what I can tell you is this: like a steaming cup of freshly made coffee is irreplaceable first thing in the morning (please don’t even try to have a conversation with me before I’ve had mine), an iced coffee is a necessary part of a hot afternoon. I’ve been making iced coffee at home in my Toddy Coffee Pot for years, but thought that it would be fun to try making it just using household items so I could share it with you! (You could also just buy a Toddy Coffee and I would certainly recommend it!)

IMG_3089

The Toddy Coffee pot, and my recipe too, makes a cold brewed coffee concentrate. It’s perfect for iced coffee because it’s extra strong so when the ice melts, your coffee doesn’t taste watery (bleh). And since it was brewed cold, it never gets that bitter taste coffee gets after being cooled down and indulged in later. It can also be used to make a cup of hot coffee by adding boiling water to the concentrate. The main benefit of cold brewed coffee versus regular coffee is that it has about 67% less acid than regular hot brewed coffee making it healthier for you (particularly for your stomach and bones!) Also, your coffee will be less bitter, have a smoother flavor, and be naturally sweeter due to the lowered acidic content.

Recipe (makes about 1 liter of coffee concentrate)

1 pound of your favorite coffee (coarse grind)

2 liters water

large coffee filter

strainer

Step 1: Combine the coffee and water in a large container. Cover and let sit for 12 hours (I just leave mine out overnight. Timing doesn’t have to be exact!)

Step 2: Strain the coffee by using the coffee filter over the strainer. A slightly faster way to go about this is to pour the coffee into a french press and strain the grounds by using the press. When I do it this way I still like to pass the coffee through a coffee filter after to get a pure concentrate. You should end up with about a liter of coffee concentrate! Refrigerate and enjoy! The coffee should stay fresh in your fridge for about two weeks.

0lLBbd6wLkKRr2e7ET5aFMh_pu0aeGjF-TEB7LGKlQM

For Iced Coffee:

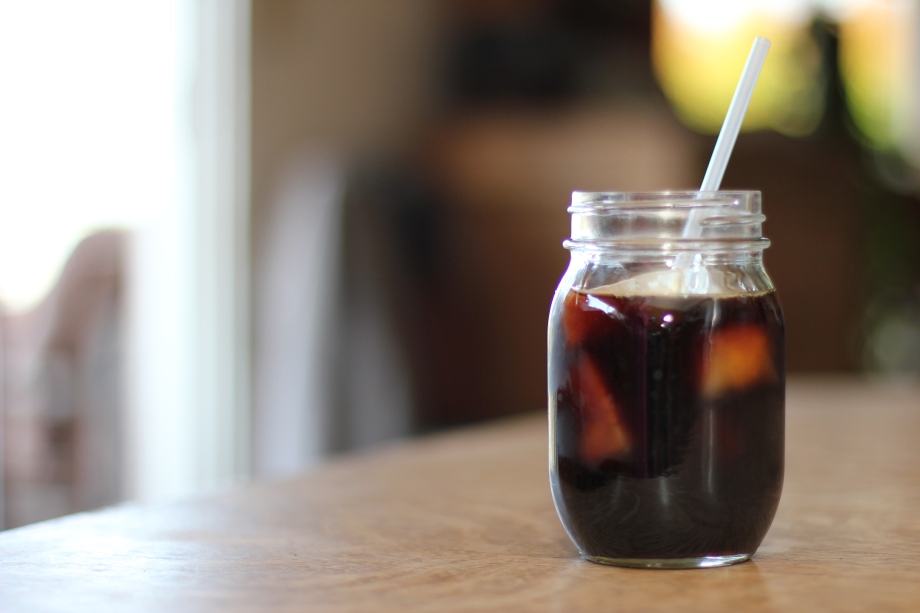
Pour coffee concentrate over a generous serving of ice, add cold water to dilute the concentrate to your preference. Add cream and sugar if you like!

For Hot Coffee:

Warm 1 part coffee concentrate in the microwave, and add two parts boiling water. (Adjust water and coffee concentrate proportions to your liking). Enjoy your hot cup of acid free (aka tummy happy) coffee!

xoxo,

a highly caffeinated Keya

Photos by Erik Shafer.