Lately I’ve been obsessed with burning candles all. the. time. In the past I would purchase a candle here and there and leave it out as display, but almost always forget to light it. So my candles would pretty much last forever. No longer! So it seemed necessary to start making my own since I can make about five big candles for the price of one nice one. I chose soy wax because it is sustainable and slow burning.
Upon researching candle making, I found quite a few rather technical videos about how to make the perfect candle. Apparently candle making is a big thing? Anyway, while I wanted my candles to turn out well, I also wasn’t interested in buying a gazillion different tools. So here is my rather bared down candle making how to, using things that I had around the house. I wouldn’t recommend using any precious kitchen tools in case the wax is hard to remove. Notwithstanding, I was able to remove all of the wax from the bowls and spoons I used. I washed everything before the wax had a chance to dry completely and poured boiling water over the difficult areas.
tools:
double boiler
candle container
soy wax (1 lb. ~ 18 oz melted)
wicks
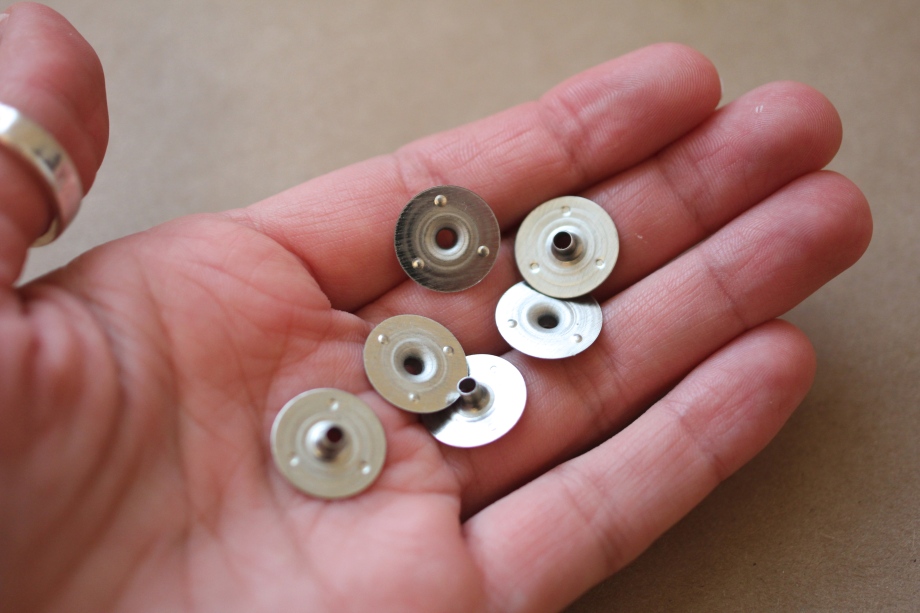
wick tabs
hot glue
popsicle sticks/straws
essential oils (optional)
oil-based color chips/crayons (optional)
1.) Cover your work area with wax paper to protect the surface.
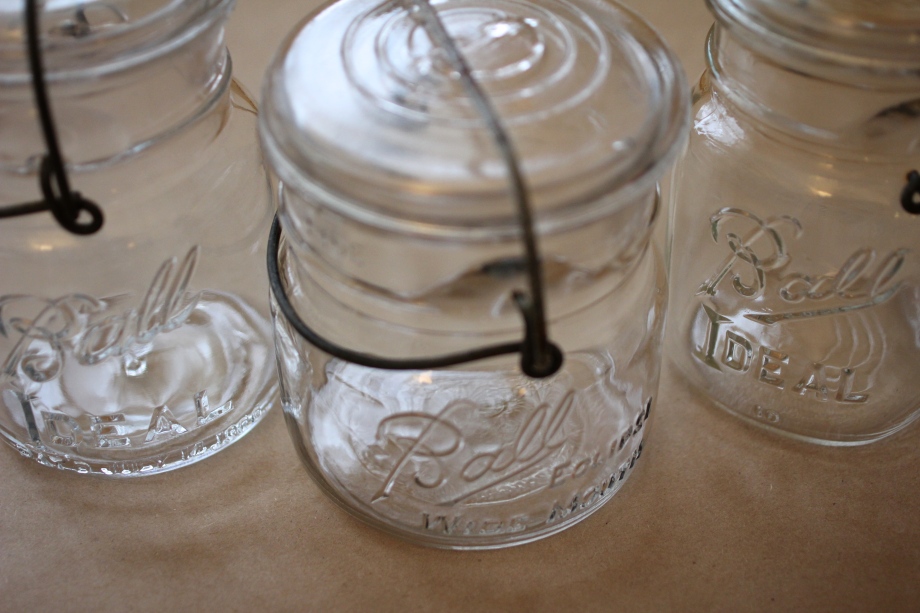
2.) Wash and dry your candle containers. I used some antique mason jars that I just love.
3.) Thread your candle wicks through the wick tabs and fray the bottom end. Place a tab of hot glue on the bottom of the tab and attach it the bottom of the candle container in the center. Trim the wick so that it extends above the candle (you can trim it shorter later). Alternatively, if you don’t want to buy wick tabs, you could just hot glue the wick to the bottom of the container.
4.) Attach a popsicle stick or straw with a piece of tape to the wick in the middle of the container. This is to ensure that the wick doesn’t fall down while pouring the wax and also that it stays in the center of the container.
5.) Melt your wax in a double boiler. (I recommend buying pre-flaked wax, but if you purchase a block, shave it or break it into chunks before melting to ensure a more even melt). If you don’t have a double boiler, you can make your own by boiling water in a pot and placing a smaller pot or bowl over the pot. You do not want to melt the wax directly over stove. Be careful and stir continuously while melting your wax. You want it to melt, but not boil. Wax has the potential to combust if it reaches too high a temp. Once it’s melted remove it from the heat. If you have a candy thermometer, place it in the melting wax and when the wax has reached 170-180 degrees it is done. Add your essential oils at this point. Read the directions on the bottle to see how much to add. If you want to color your candles, now is the time. Add color chips or crayons until you have achieved your desired color.
**Most important** NEVER leave your wax unattended while melting and be constantly monitoring the temperature- do not allow it to boil. Once it has melted remove it from the heat immediately.
6.) Carefully pour your wax into your candle containers over your protected workspace. Try to avoid the wick. I recommend transferring the hot wax to a container with a spout like a liquid measuring cup to make pouring easier. You can fill your candle as much as you like, I got pretty close to the top with mine.
7.) Let candle dry overnight.
8.) Trim wick to a quarter inch above the candle and light! Enjoy!
9.) If you spill wax on the outside of your container (which, um, I might have done…) it’s not the end of the world! Try to wipe of all much as you can while the wax it still hot after pouring without disturbing the candle. Now this next step depends on what kind of container you’ve used, but worked really well with my mason jars. I placed my candle in a pot and filled around the candle with water. Then I removed the candle and boiled the water. Once the water was boiling I placed the candle back into the pot. Let the candle sit in the water for a few minutes and them remove and wipe down. All the wax comes off in the water! This might melt your candle a bit so let cool and re-harden after before lighting.
After burning for about two weeks:
xoxo, Keya


So pretty! I’ve wanted to try to make my own candles (so many things to make, so little time). Your results inspire me to give it a go!