Okay, first I’ll admit that I started this project the weave-way. That is, I made my own loom out of a carefully-carved cardboard box (genius!), wrapped some twine around my box creating, what looked to me, like evenly spaced strings….or whatever you call them. I proceeded to weave my yarn in and out, creating cool tassels and textures, just like all those pictures you see on Pinterest. With each passing day, my cardboard box started to soften and cave in, and i would pull the strings tighter, which in-turn caused the cardboard to cave more. Sometimes when a project is not going right, you have to just set it aside for a while and ask yourself, “do I go on or do I start over?” In this case, I needed to re-strategize and start over. Turns out, it was one of the best decisions of my life – with inspiration from Kipi, I was able to get the same effect I was looking for WITHOUT spending money on a loom.
ingredients:
a piece of plastic canvas (found in the needle-work section of most craft stores)
a piece of driftwood (found on most beaches)
twine (thin enough to string through your canvas)
an assortment of yarn (I chose 5 different types including some mop-ends)
sharp scissors (I bought a brand new pair)

1. The first thing you want to do is figure out your pattern. There is a ton of inspiration out there to get you started. Once you have a general idea, you can begin!
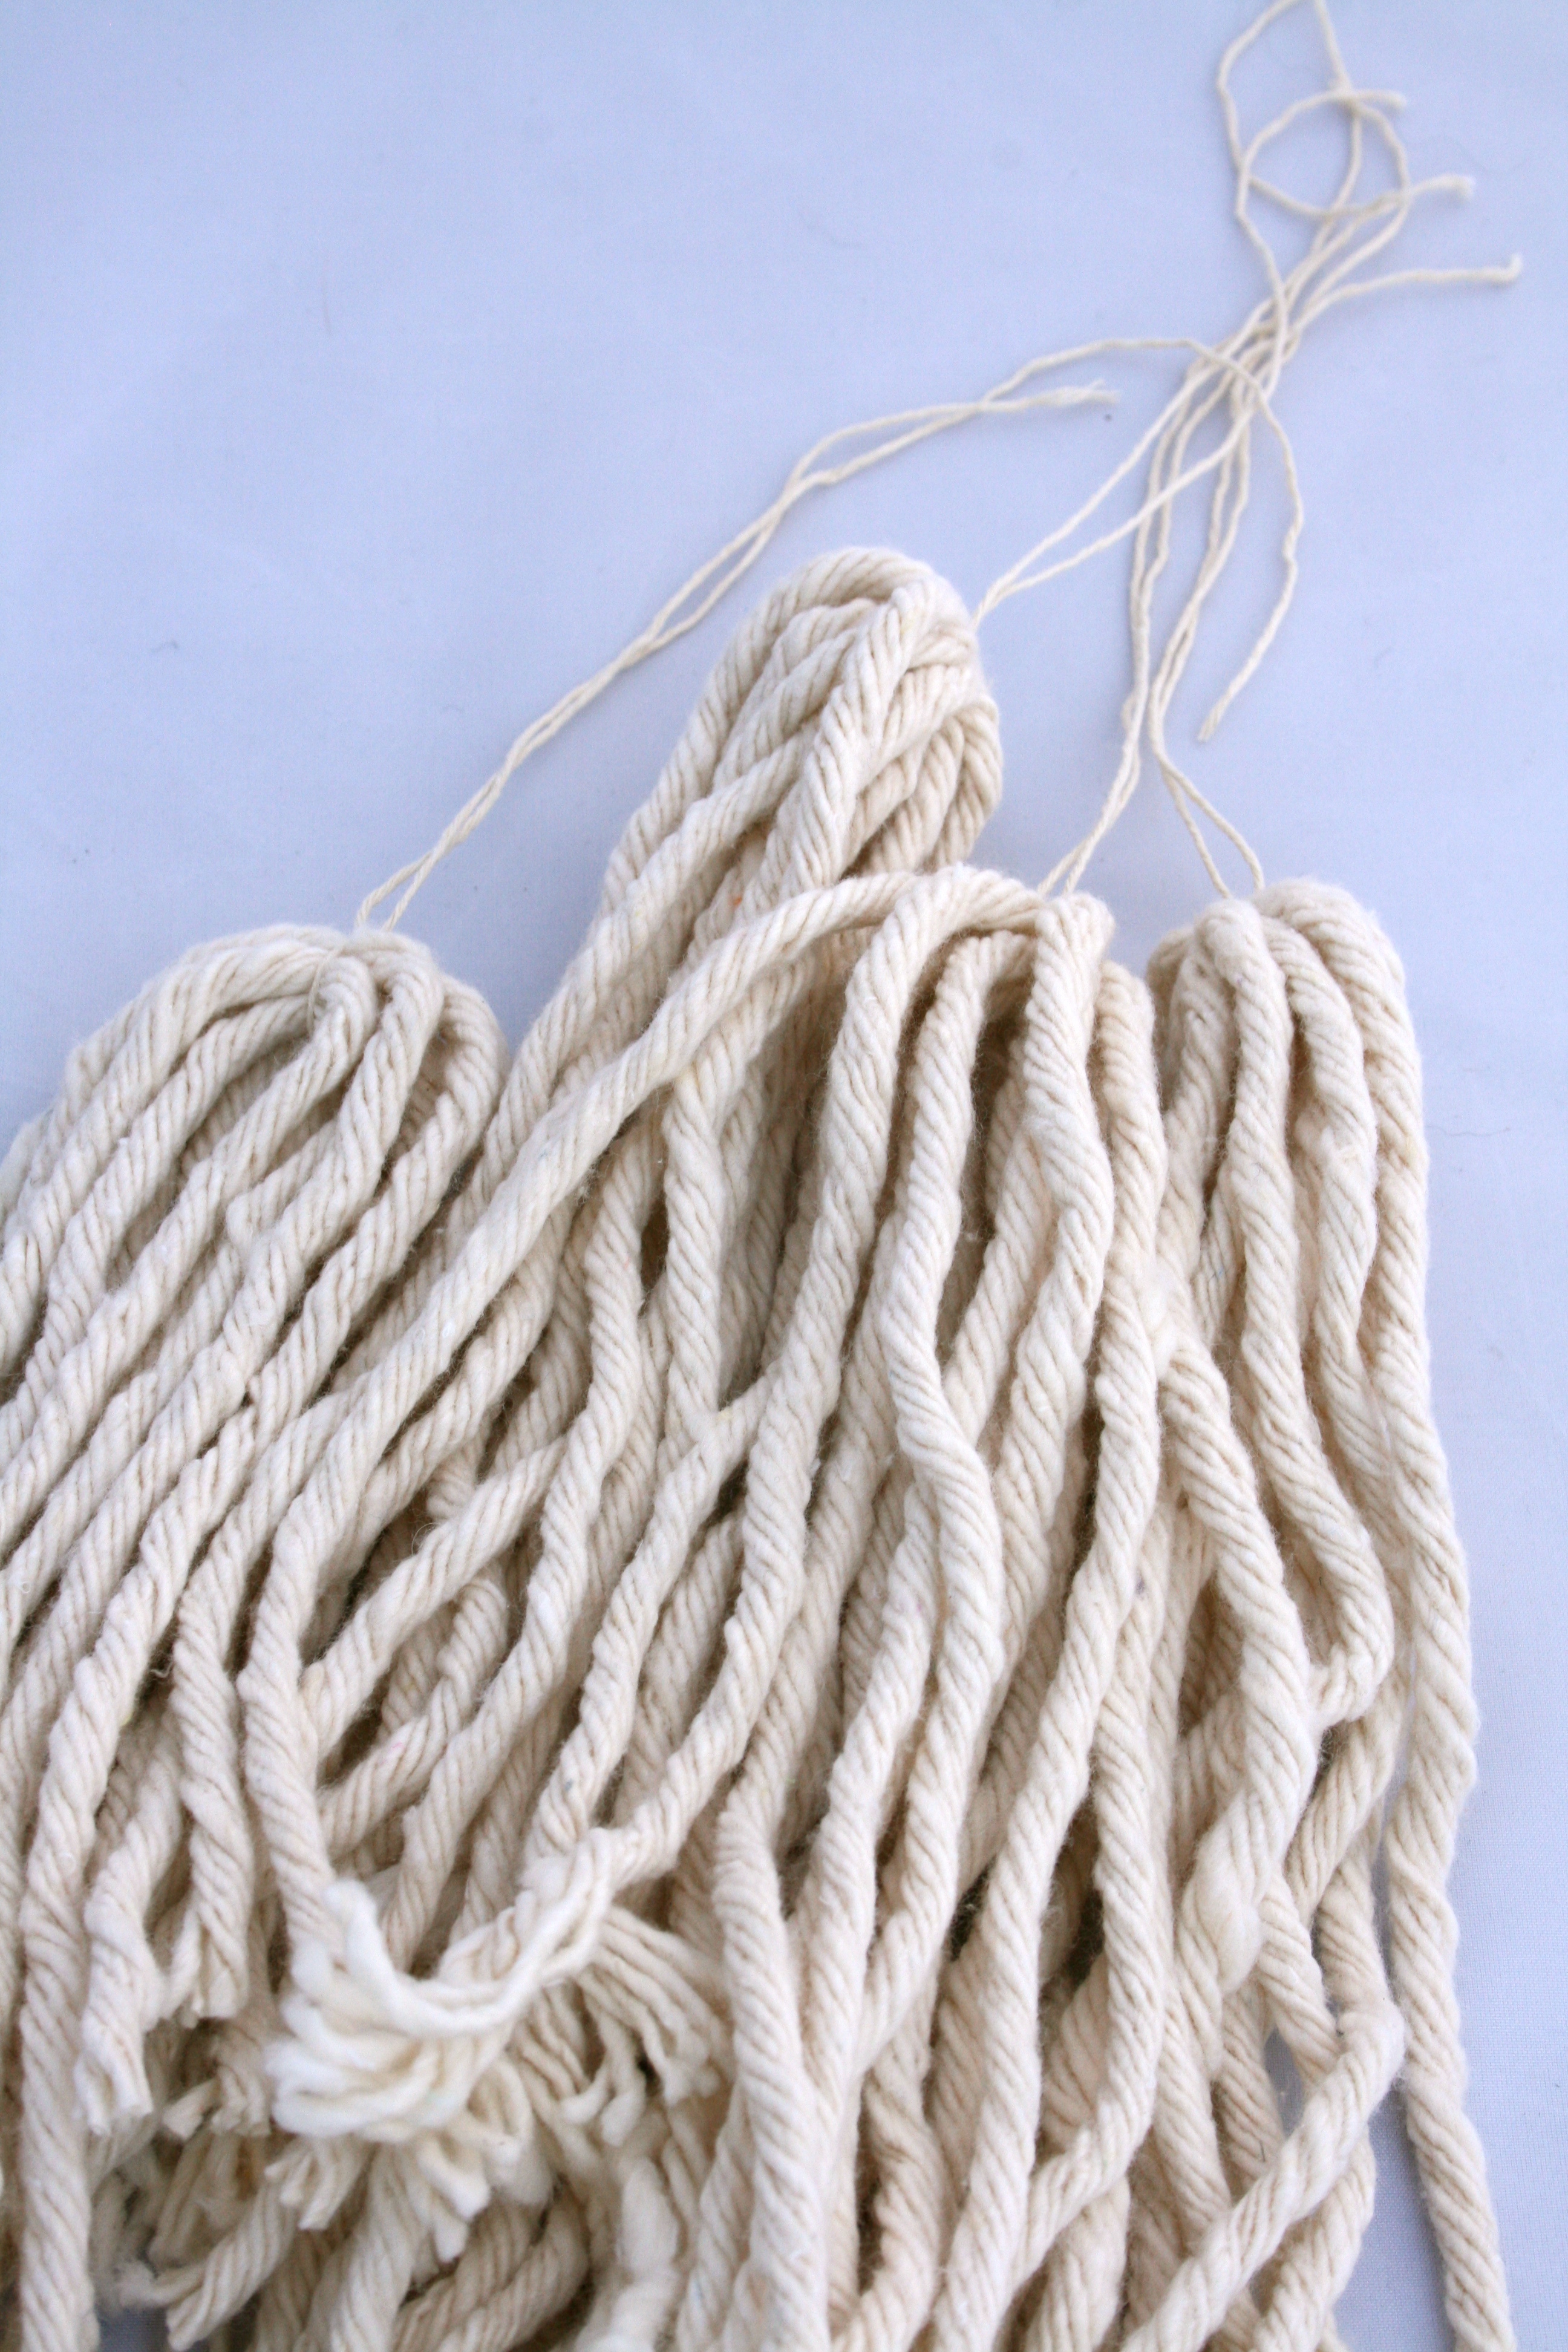
2. This project is all about “tassels”. So begin by deciding the length of your first row of yarn and start cutting strips that are twice that length (they will be folded in half). I suggest giving yourself extra room for trimming as well. Once you have cut a few strands, you can use your twine to tie the strands together in the center and create a tassel. For thicker yarn I used about 5 strands per tassel (folded to make 10), and the thinner yarn I used about 10 strands per tassel (folded to make 20).

3. Once you have your tassels, you can begin stringing them through the canvas (equal distances apart – about 5 boxes), and tying the twine at the back of the canvas in tight knots.

4. Because there is no weaving involved, this project is all about layers and textures. I highly suggest creating lots of layers. Instead of doing one row at the top with Yarn “A”, create a short row and then a longer row underneath before you move on to Yarn “B”.


5. Also keep in mind, you never want your canvas to show through so make sure you build your second layer underneath the first, the third layer underneath the second, …etc.


6. As you create rows, you can begin trimming the ends of the yarn into straight lines using very sharp scissors. Trim off small amounts each time until it is at the desired length. This step is kind of like plucking your eyebrows, don’t go too crazy because these strands won’t grow back!

7. Once you have all of your tassels tied, you can snip off the excess twine at the back of your canvas.

8. To attach the driftwood, use a long strand of twine and string through the canvas and around the driftwood, tying a tight knot at the back of the canvas.


9. From here, you can begin stringing the twine through the canvas and around the driftwood at equal spaces apart.

10. When you reach the end of your canvas, make sure to tighten each loop so the canvas is taught against the stick before tying your final knot at the back of the canvas.

And voila! No weaving required!


happy crafting!
xoxo, keya and erica