oscar party 2015

IMG_7102

 We.  Love. The. Oscars.  You know this.  Planning on throwing an Oscar bash?  We highly recommend that you do (they’re the best).  Here are a few of our favorite ideas for this year.

IMG_7329

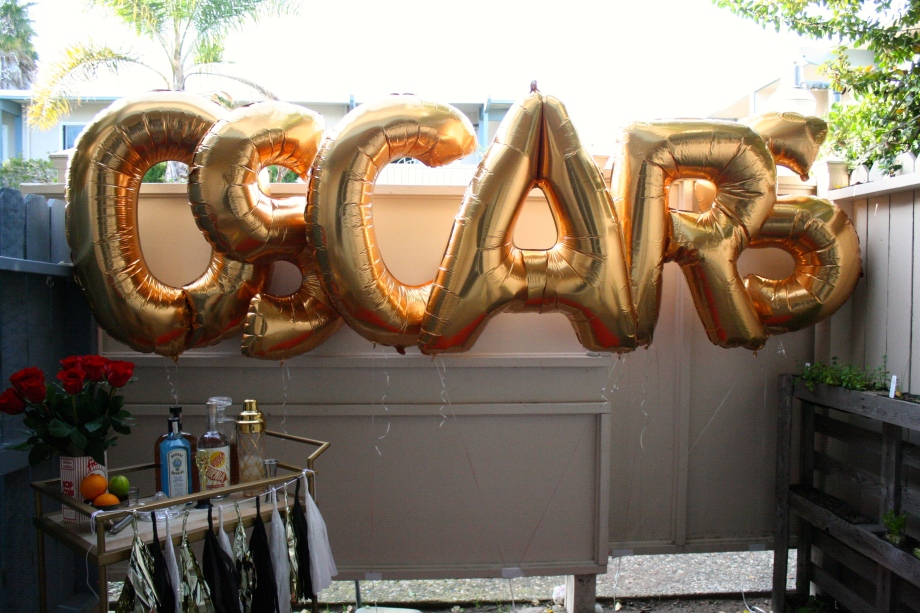
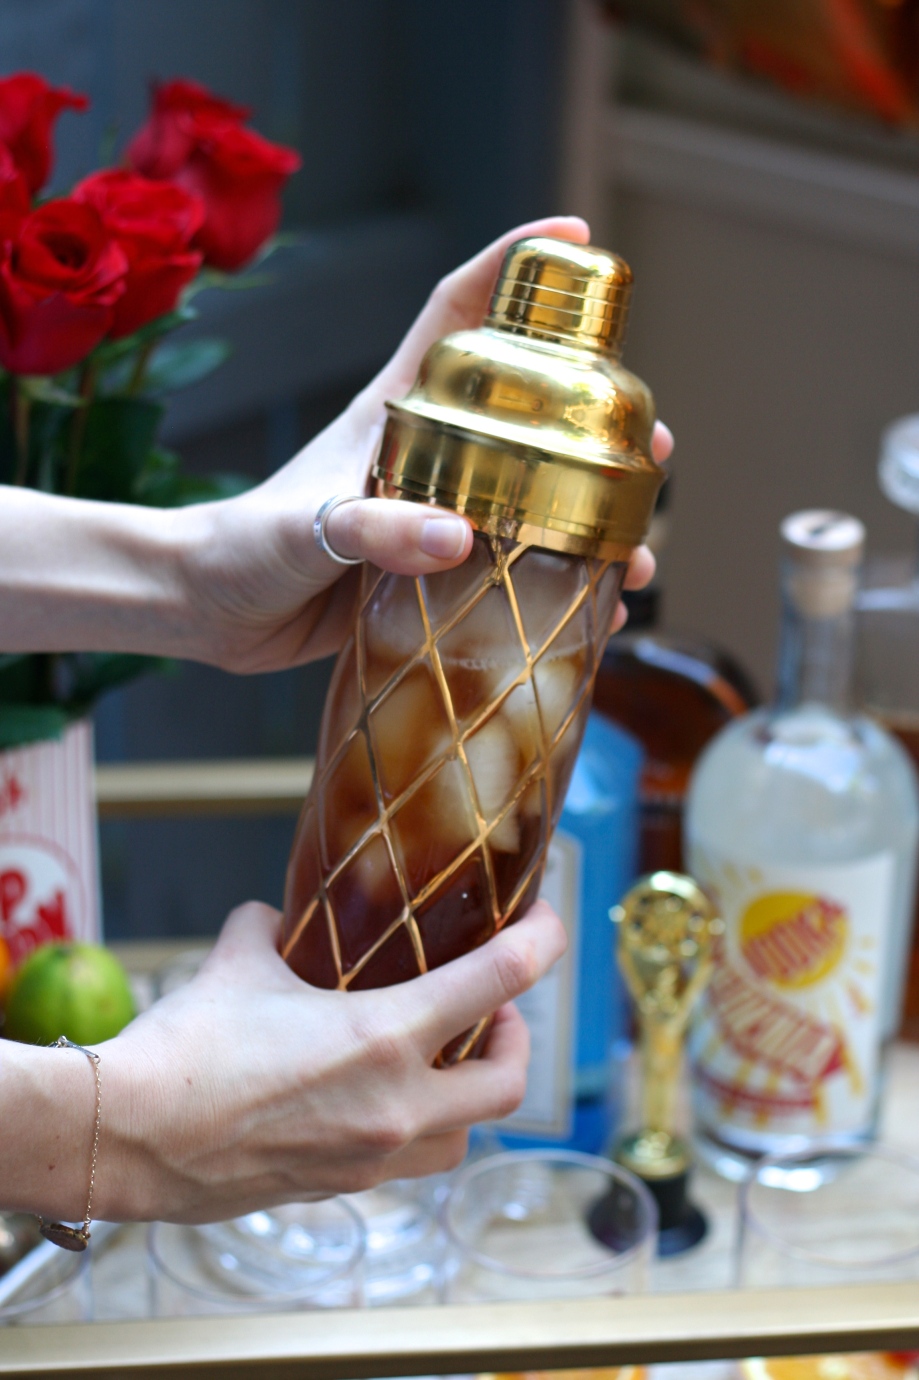
Every Oscar party needs giant balloons, right? We ordered ours online, filled them up at the store, and stuffed them into our tiny car.  Learn from our mistakes and bring a van. This year, instead of champagne, we set up a bar cart so guests could make their drink of choice.

IMG_7048

IMG_7046

IMG_7055

IMG_7125

IMG_7174

IMG_7260Aren’t these balloons just everything?

IMG_7345

A red carpet is a must! We stuck ours under the bar cart for fun #shoestagrams.IMG_7221

Inside we set up a simple buffet.  Popcorn, movie candy, little appetizers, et voilá. Recognize those film strips?  We made them a few years ago for our first Oscar party and love them still.  The piñatas are a score from Party City.

IMG_7202

IMG_7198

IMG_7223

IMG_7310

IMG_7265

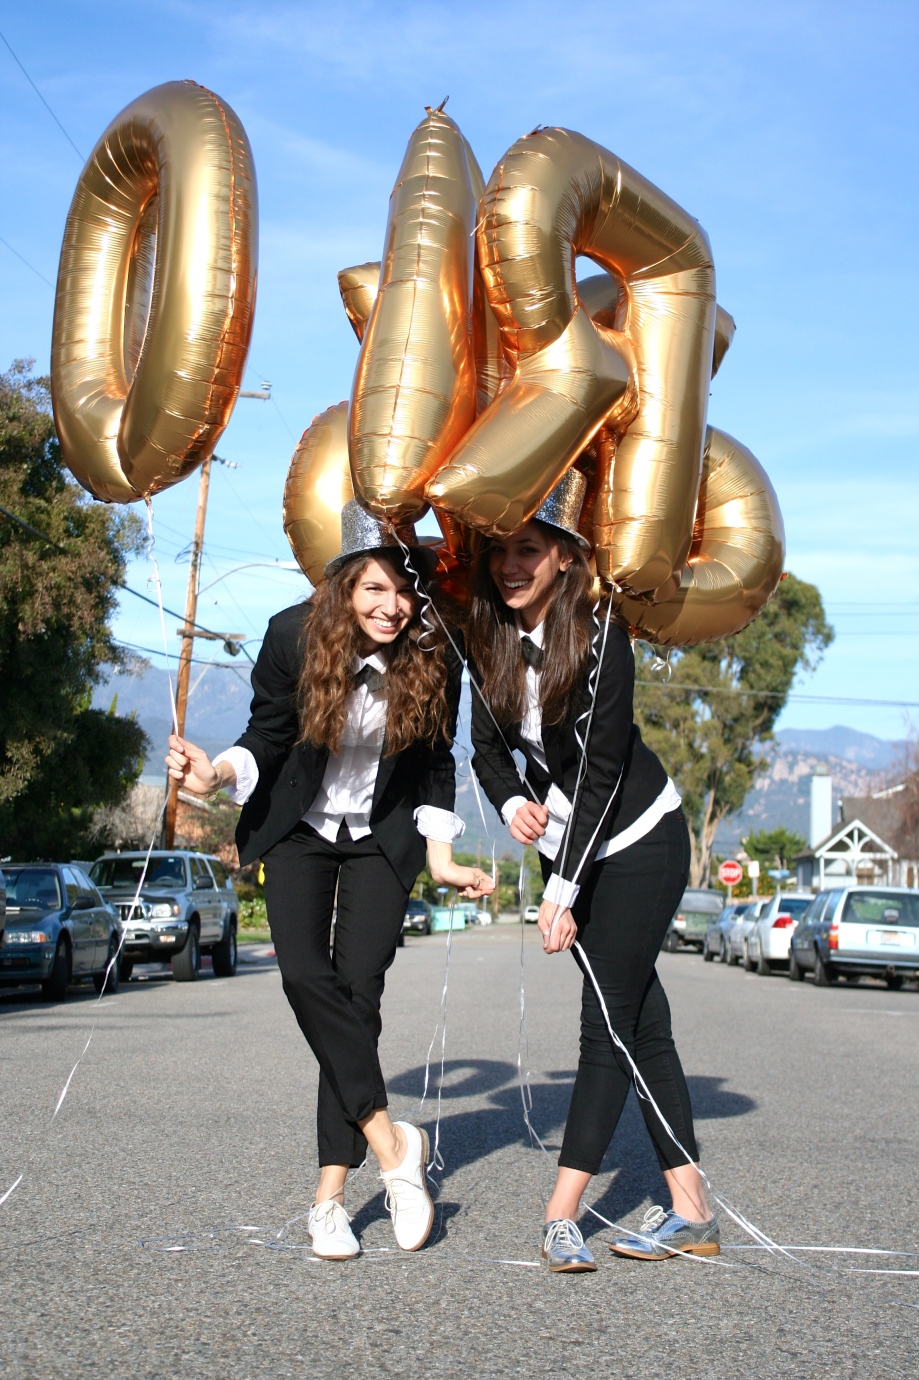
Don’t mind us, we couldn’t resist a balloon photo op in the street.

IMG_8303

IMG_8304

For a simple photobooth we hung our star garland, also from our first Oscar partyon the wall.  Other easy options could include gold foil curtains, large gold stars, or red butcher paper.  To give them the “photobooth look” we used the Party Party App by A Beautiful Mess.

output_9ZikvX


xoxo, Keya and Erica

Oscars 2015 + Printable Download

IMG_7015

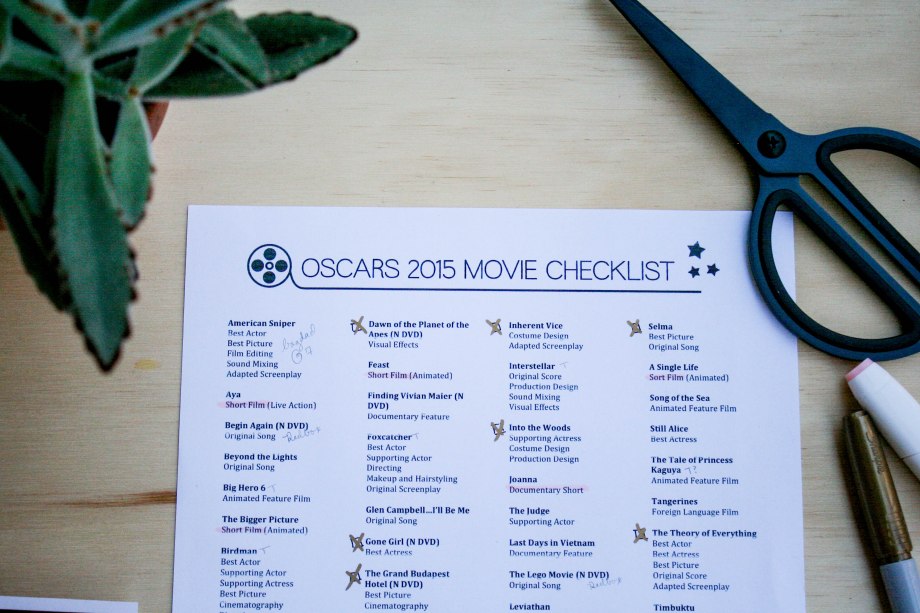
If you’ve been following along with this blog for a while you know that the Oscars are BIG DEAL over at The Little Things.  A very big deal.  Our first post on this blog was about our Oscar Soirée, which you can see here.  As the month goes on we’ll share some of our favorite Oscars DIY’s with you and also a few new ones.  But this post is about getting to the heart of the matter- watching all of the nominated films.  The list was just released so… ready.set.go!  By my count you have 35 days to watch 60 films.  But some of those are shorts, so no big deal.  This year was the first year that we got savvy and started watching the golden globe noms in preparation (go figure, only took us five years to come to this brilliant idea?).  It’s been helpful, but we still have a lot to watch (eeek).

Thinking about doing to Oscar challenge, but not sure? I recommend finding a friend or a group of friends to watch the movies with and then heading over to happy hour (dare I say…best hour?) to discuss the films over drinks and snacks.  Just think about how cultured you’ll look, pouring over your lists and notes, while spewing margarita-fueled comments on Birdman’s cinematography.  #moviebuff

Don’t want to see all the movies, but still want to be in the know?  Here’s a list of the top nominated films, which is a good jumping-off point (*=Best Picture):

  • Birdman: 9 nominations*
  • The Grand Budapest Hotel: 9 nominations*
  • The Imitation Game: 8 nominations*
  • American Sniper: 6 nominations*
  • Boyhood: 6 nominations*
  • Interstellar: 5 nominations
  • Foxcatcher: 5 nominations
  • The Theory of Everything: 5 nominations*
  • Whiplash: 5 nominations*
  • Mr. Turner: 4 nominations
  • Selma: 2 nominations*

IMG_7009 IMG_7010

I’ve also included a downloadable print-out of every film nominated and what it’s up for.  You can download it here. (click to view, or right click and select “save link as” to save it to your computer).  I also noted each of the films that are also available on Netflix with and N next to the title and I for instant and DVD for DVD only.  It’s pretty handy and only a single page for easy movie referencing and marking off what you’ve seen!

IMG_7006

Get excited folks, because Oscar season is upon us and it’s the best season of them all!

xoxo,

Keya

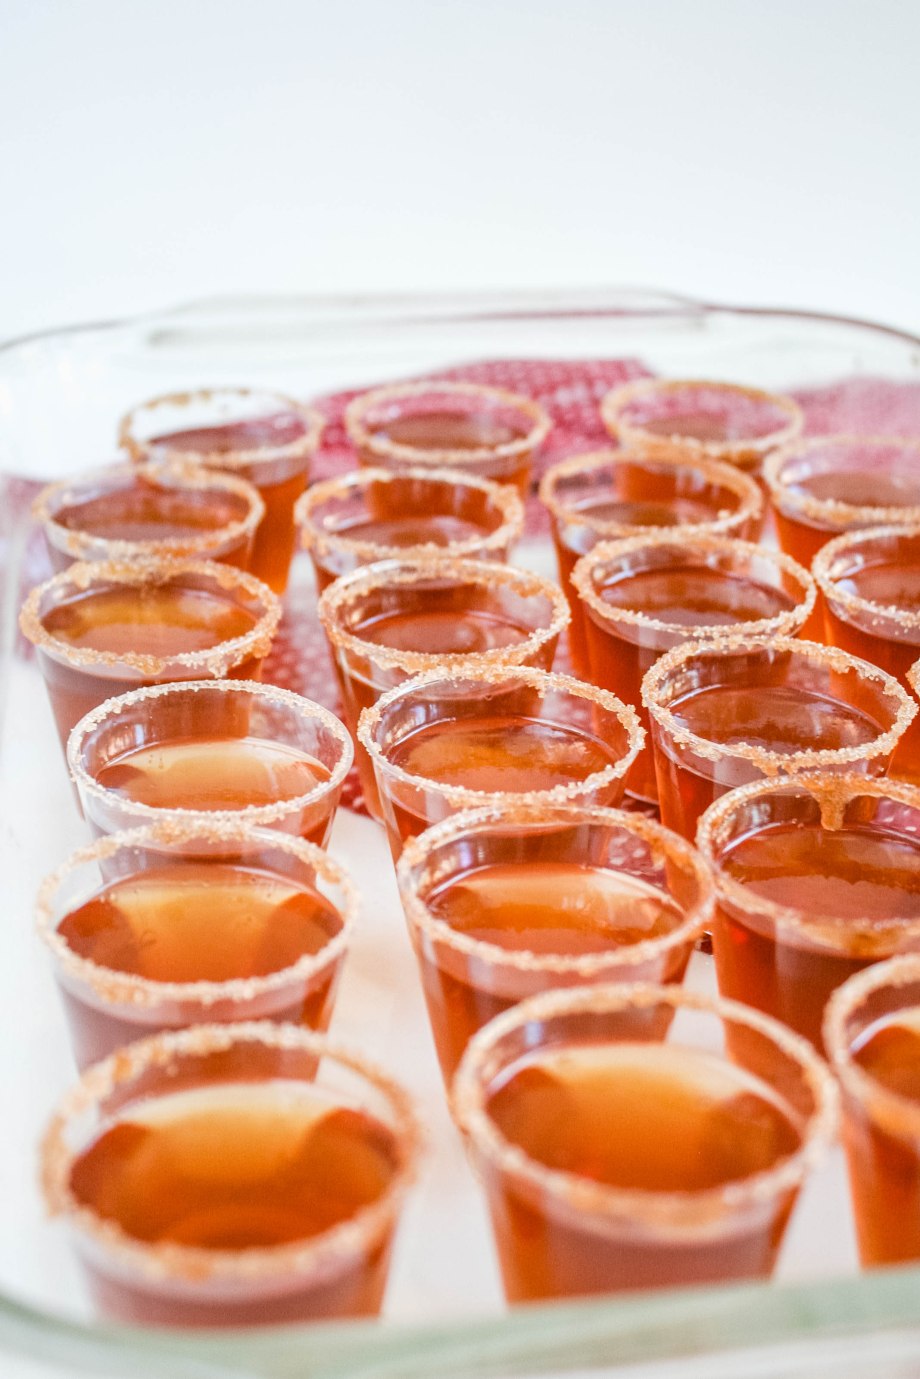
Apple Cider Jello Shots

IMG_6952

Okay, I’ll admit, I have sort of a love/hate relationship with jello shots.  I love them because they are undeniably FUN.  Especially when they’re colorful and God forbid they come in those tacky plastic syringes, because then I am a goner.  I mean, those are so great.  Makes me want to host a doctor themed party, which is pretty weird. Annnyway, rambling aside, the negative of jello shots is that they usually taste pretty terrible.  Super sweet in the beginning and then just vodka.  Bleh.  So making my own is usually the way to go (no liquor aftertaste here!).  My recipe may use a tad less alcohol than most, so feel free to adjust at will, if you’re tougher than me!IMG_6951

Ingredients (makes about 12 jello shots):

1 pack spiced apple cider mix

1 packet gelatine

1.5 c. boiling water

.5 c. spiced rum

Mix apple cider mix and gelatine in boiling water until completely dissolved.  Add spiced rum and mix again. Pour into jello shot cups and set in the fridge to set.  This takes a few hours, but I recommend leaving them overnight.  If you’re making these for a party, save yourself some stress and make these ahead of time! Use apple cider mix to make spiced rim and enjoy!

IMG_6953

xoxo, Keya

Cauldron Succulent Planters

IMG_6873

IMG_6882

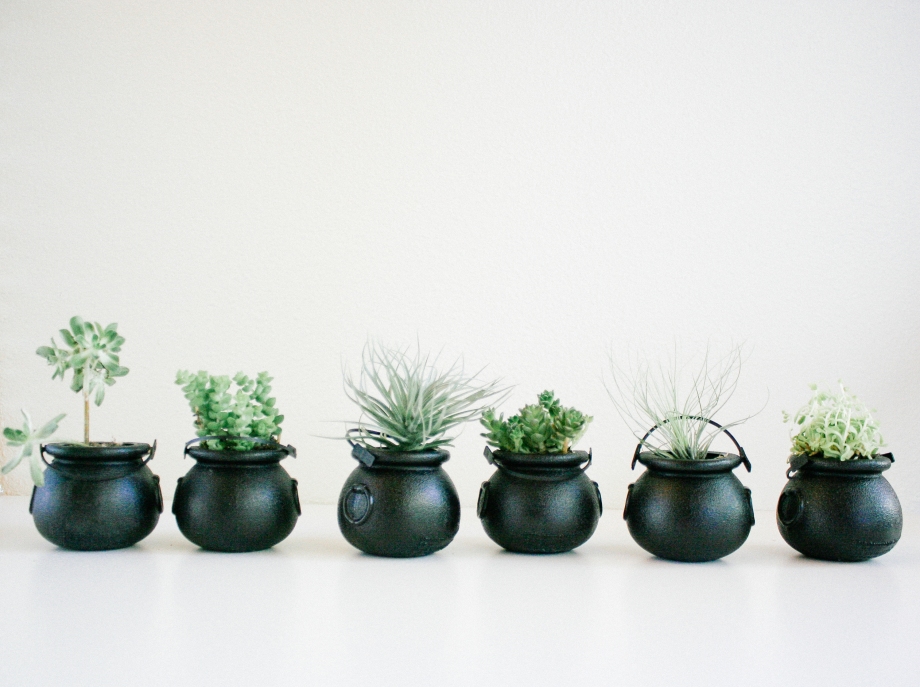
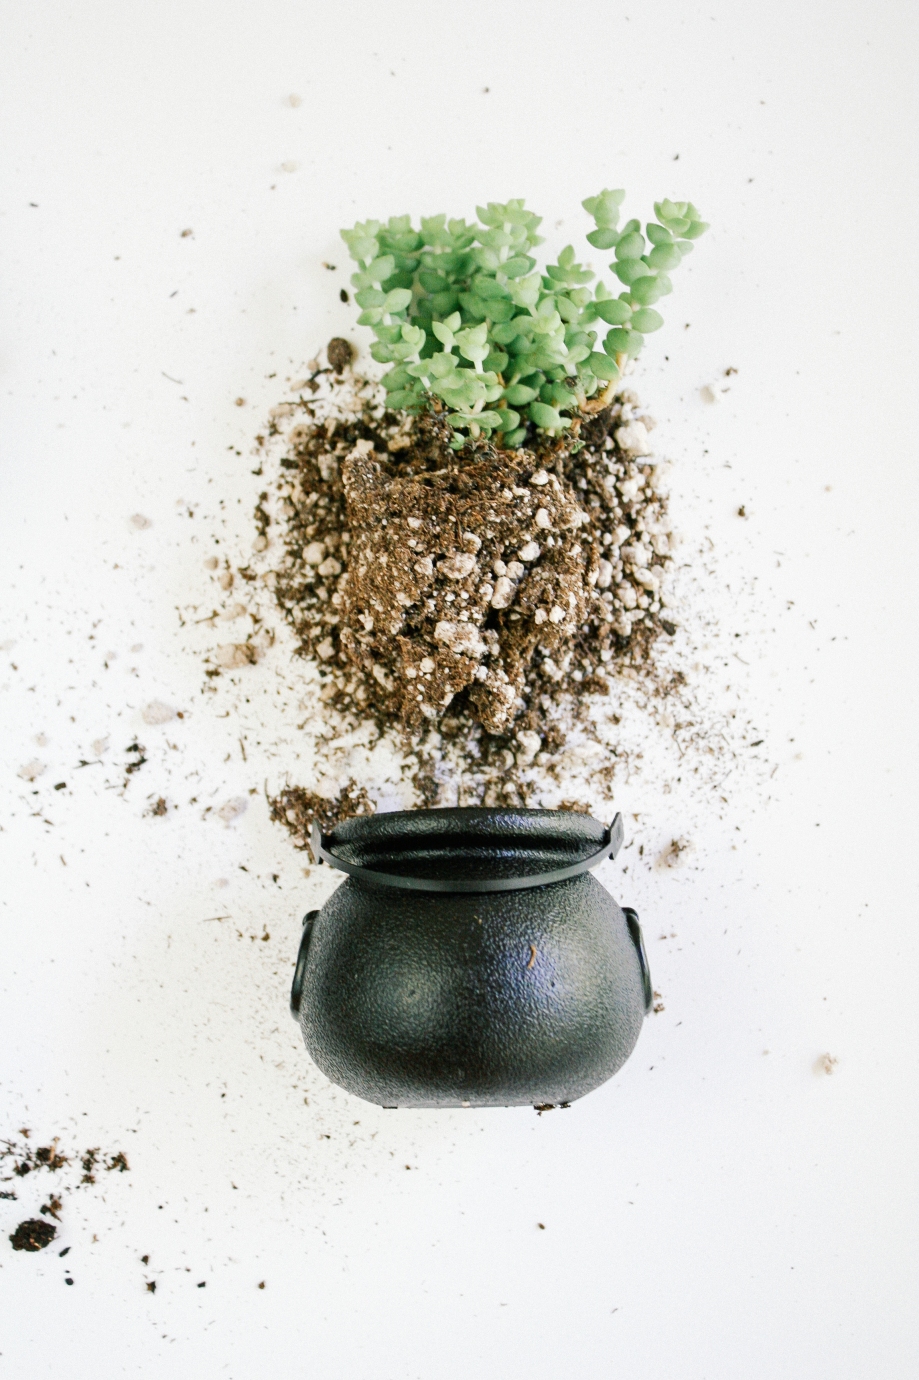
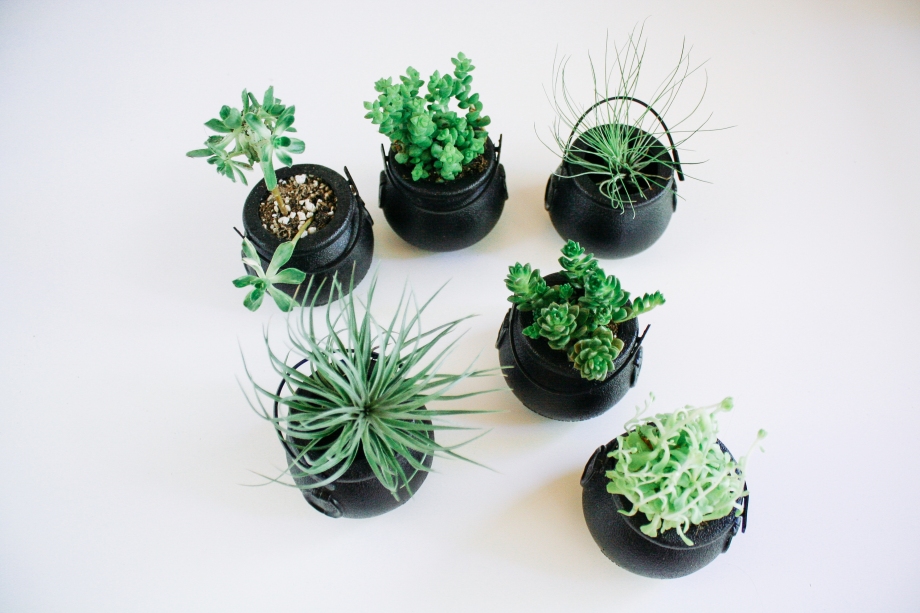
When I saw these cauldrons at the craft store, I knew that I WOULD need them for something.  Then I happened to place them next to my succulents on the table when I got home and a great plan was born.  My little green babies were getting uprooted for the season.  Not such a great planting move to just re-pot plants in themed vessels based upon the relevant holiday?  I couldn’t say, my thumb is more of a murky brown.  And they just look so darn cute.  Imagine these lined up on the table as a dinner centerpiece or spread about the house.  The green is almost like a bubbling potion spilling over the top of the cauldron.  And the air plants have this great weird science look to them.  Whenever I see an air plant I think that they should be named Harold or Max.  They sort of bring to mind a dorky teenager with spiked hair and braces.  Weird?  Figures I would turn out to be that kind of plant mom.

Anyway, onto the DIY…  This whole project is so simple that it almost feels silly describing it.  Basically, we’re planting here, guys.

IMG_5417

ingredients:

plastic cauldrons (I found mine at Michael’s for $1.50)

succulents/air plants

succulent potting soil

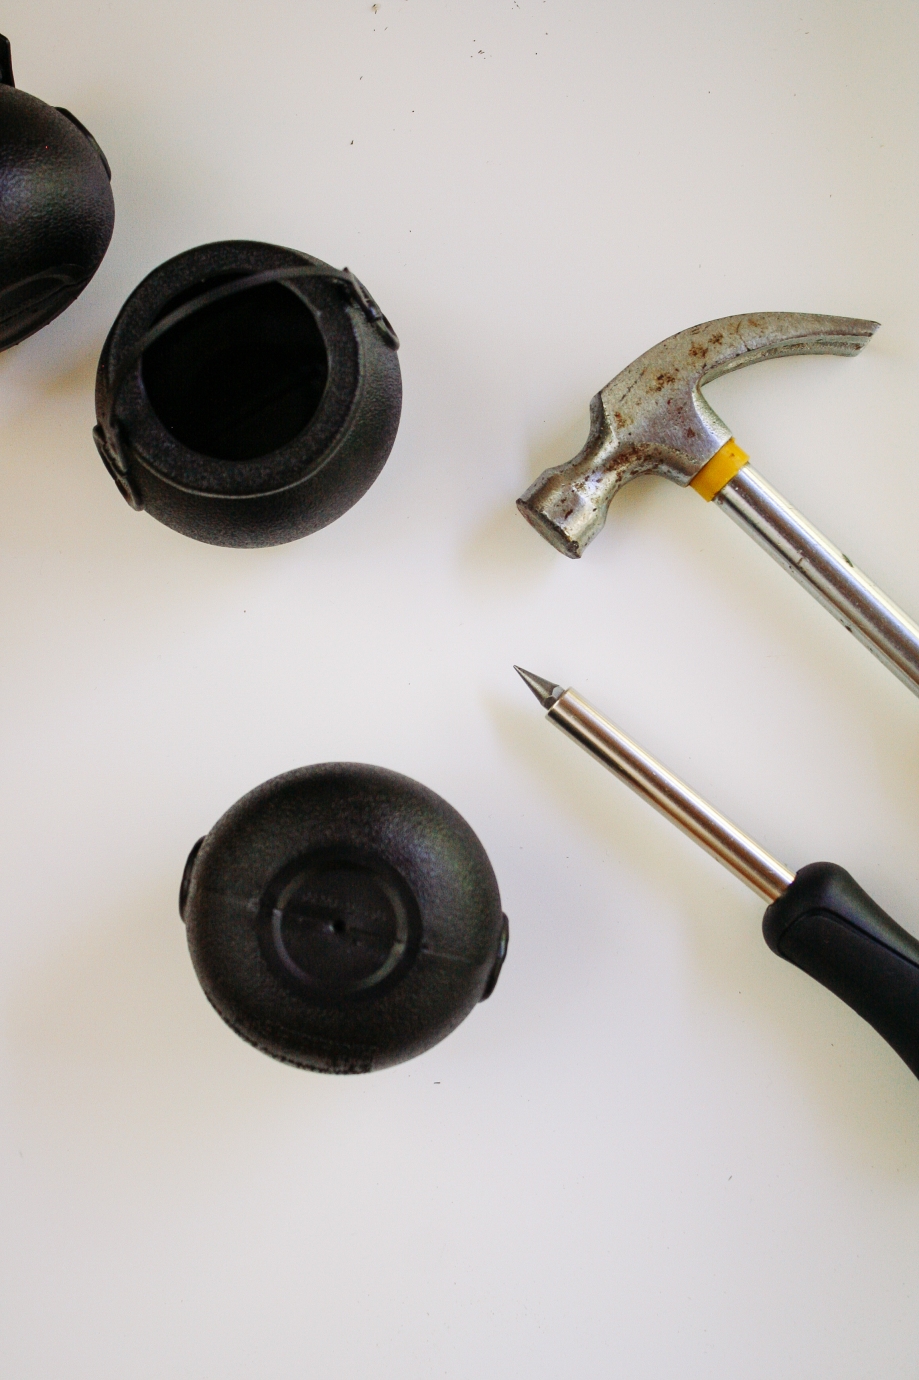
screwdriver with pointed bit & hammer

how to:

Turn your cauldron upside down and using your screwdriver and hammer, punch a hole in the bottom for drainage.  This is the most technical part of this project.  Plant your little succulent inside, making sure to fill the pot with soil. For the air plants I skipped punching a hole in their cauldrons and just set them on top.  Done!

IMG_6867

IMG_6860

IMG_6870

IMG_6875

IMG_5429

IMG_5435

xoxo, Keya

sacramento travel diary

In general, when I think of capital cities, I always imagine large buildings and tree-lined streets, and it’s always Fall?  California’s capital is no exception.  Is there a reason for this?  Nonetheless, when I had a trip to Sacramento in my future, I was determined to find all of the wonderful things (read: food) that the city had to offer, the Little Things way.  Should you have a trip to California’s capital scheduled, be sure to check out a few!

img_7017-2

img_6455-2

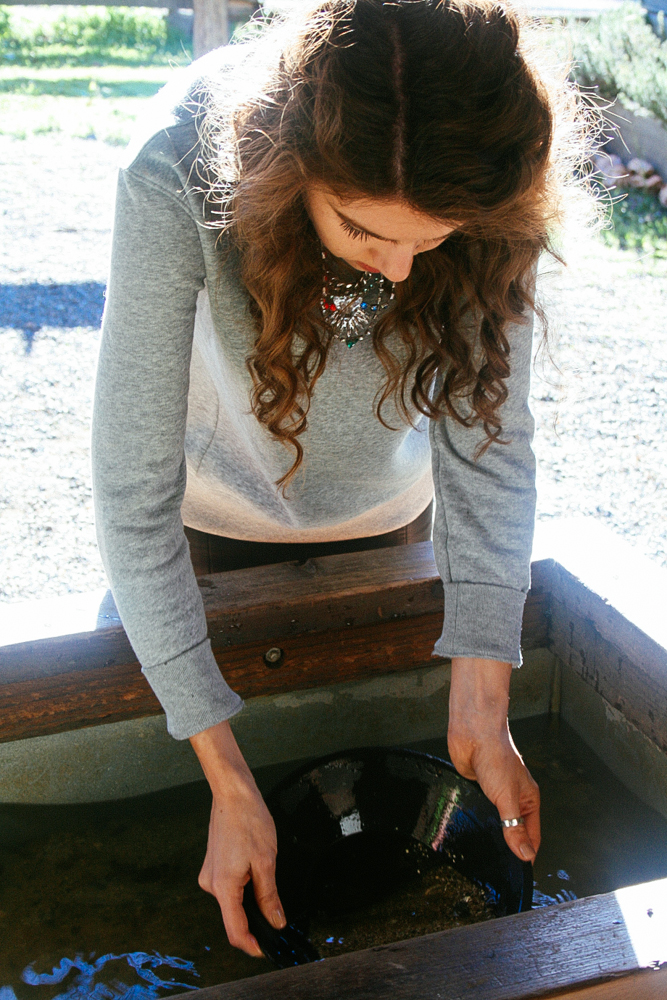
The first, and most important, activity on my Sacramento to-do list was to drink bloody marys pan for gold.  Gold was first discovered in Coloma, California, a tiny town outside of Sacramento.  I went straight to the source. I imagined myself parting the sea of small children and expertly pulling out chunks of gold while the park rangers stared on in wonder.  Instead, I watched as 6-year-old Chloe began filling her vial with small chunks of gold.   Desperately swooshing my pan, I tried to distinguish between the fool’s gold and the real stuff.  Needless to say, I walked away with zero gold.  Still, I recommend going and competing against those crafty kids; definitely a highlight of the trip!

img_6550-2

 Downtown Coloma is about a 5 minute walk filled with quaint little buildings and bridges.

img_6584-2

My boyfriends’ family is from Placerville, just down the street from Coloma.  We stopped at The Independent for dinner.  Tucked away downtown, the food and drinks were all amazing and the twinkle lights on the back patio made it the perfect date-night location.  We ordered the buttermilk-fried free-range chicken breast and the White Marble Farms pork back ribs along with some bourbon cocktails that fit the old-world charm perfectly.

img_7171-2

Old Town Sacramento is full of beautiful brick buildings (our favorite) and specialty shops.  I recommend setting aside a couple hours to stroll through the streets, take a carriage ride, and enjoy all the ice cream you could ever wish for!

img_7034-2

img_7130-2

Keya and I are constantly on the lookout for amazing bloody marys, so when I walked by a sandwichboard claiming “The Best Bloody Mary in Old Town Sacramento” at the River City Saloon, I was both skeptical and extremely excited.  Just hours earlier, I had tried what was supposedly the best bloody mary in all of Sacramento, and was extremely disappointed by the lack of snacks.  Now, slightly tipsy and with the desire to restore my faith, I had to try this (for the sake of comparison).  When the bartender pulled out the bacon, I knew this was going to be a good afternoon and I was not disappointed.  5 stars for the River City Saloon.  Also, there is a fake cowboy propped at the end of the bar, great for taking photos with!
img_7006-2

img_6669-2

Back in Placerville, Sweetie Pies Restaurant and Bakery was the perfect place to pick up a few breakfast treats.

img_6703-2

 Jack Russell Brewery is located on Apple Hill, an area with over 50 apple orchards.  We sat outside and played cards while enjoying the stunning view.

img_6725-2

img_7254-2

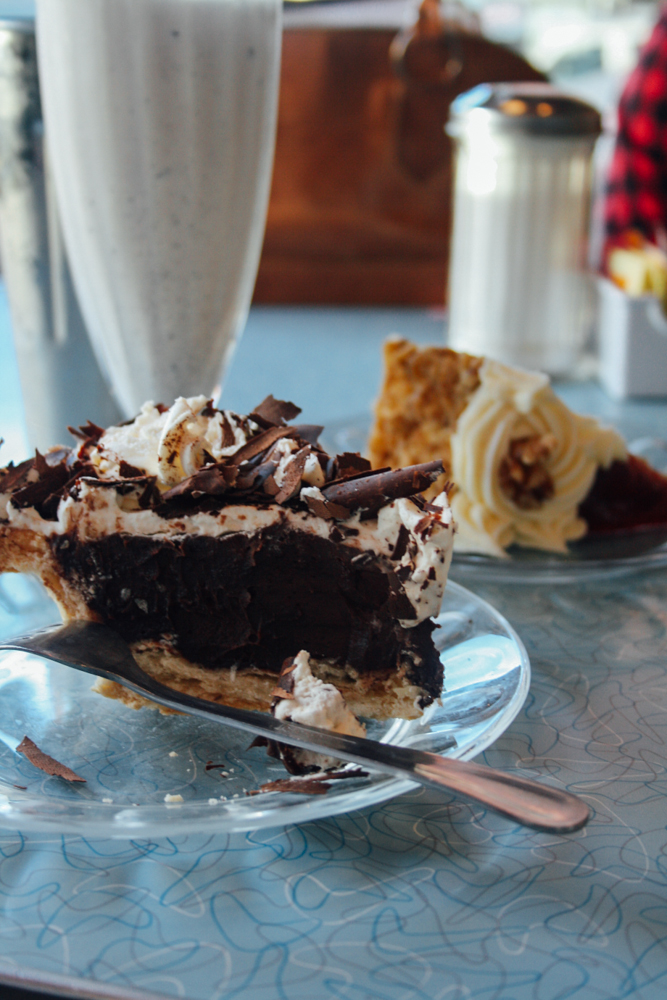
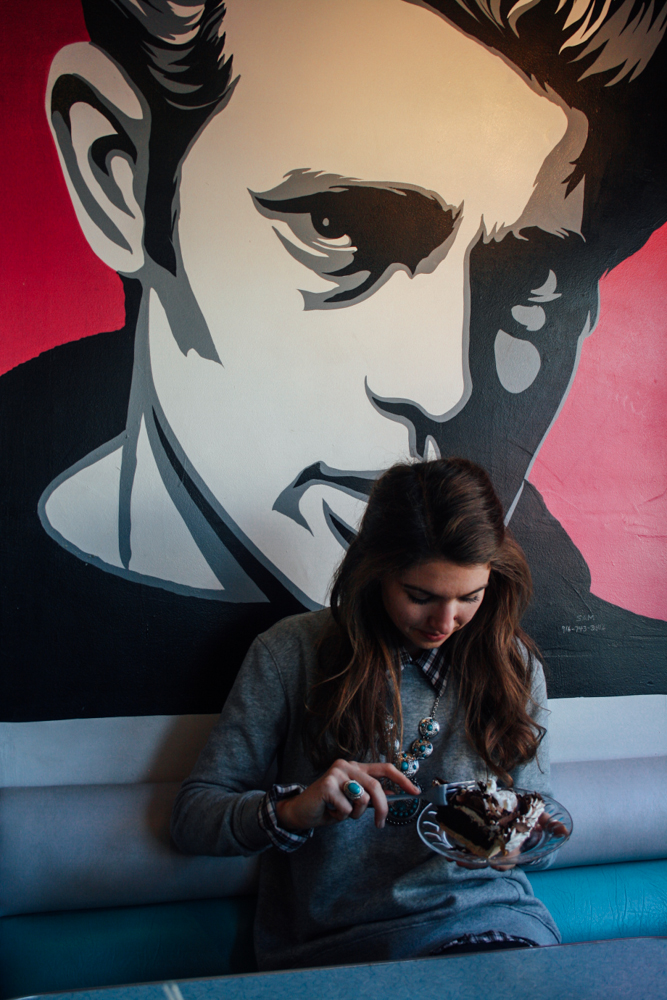
 Wandering through downtown Sacremento, you must stop by Rick’s Dessert Diner and order a piece of pie.  Sit with Marilyn Monroe or James Dean and embrace the cheesy doo-wop music as you savor that piece of chocolatey-goodness.

img_7263-2

img_7372-2

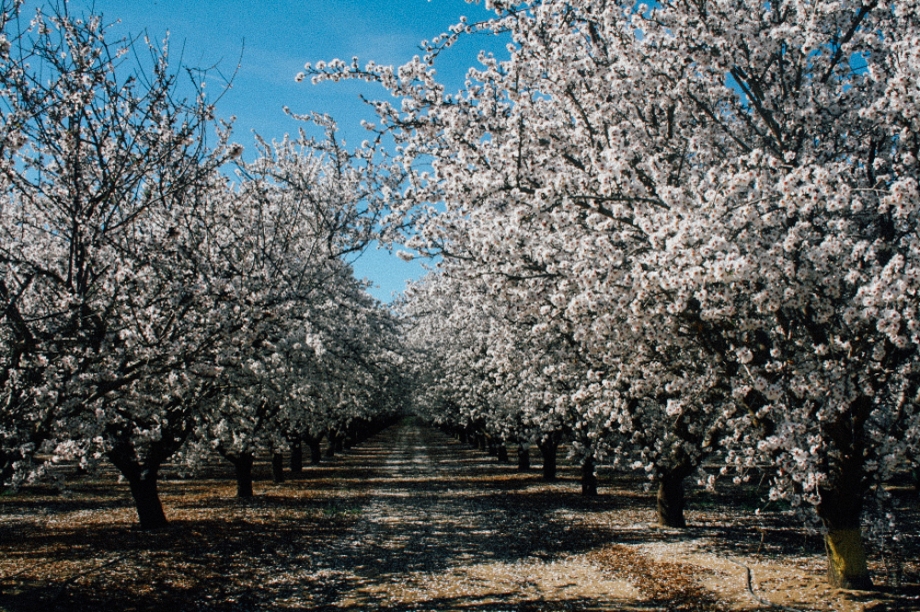
If you are driving up north in the Spring, you are going to see the amazing almond orchards along the way.  They went on for miles and I could not stop staring.  A total fairy-tale.

img_7325-2

Recommended playlist for the drive up: 

Roll down the windows and sing as loud as you can!

img_7321-2

Not pictured: The Weatherstone location of Old Soul Coffee Co. is a  beautiful brick building with great coffee and their own beer on tap!  Cozmic Cafe in Placerville is a great lunch spot with an upstairs music venue and a historical gold mine in the back.

And for next time:  I am dying to go to Dive Bar in Sacramento! This place has real live mermaids swimming in large tanks behind the bar! Call ahead to find out when the mermaids will be making an appearance.

xoxo,

erica

no-weave wall hanging

3 (2)

Okay, first I’ll admit that I started this project the weave-way.  That is, I made my own loom out of a carefully-carved cardboard box (genius!), wrapped some twine around my box creating, what looked to me, like evenly spaced strings….or whatever you call them.  I proceeded to weave my yarn in and out, creating cool tassels and textures, just like all those pictures you see on Pinterest.  With each passing day, my cardboard box started to soften and cave in, and i would pull the strings tighter, which in-turn caused the cardboard to cave more.  Sometimes when a project is not going right, you have to just set it aside for a while and ask yourself, “do I go on or do I start over?”  In this case, I needed to re-strategize and start over.  Turns out, it was one of the best decisions of my life – with inspiration from Kipi, I was able to get the same effect I was looking for WITHOUT spending money on a loom.

ingredients:

a piece of plastic canvas (found in the needle-work section of most craft stores)

a piece of driftwood (found on most beaches) 

twine (thin enough to string through your canvas)

an assortment of yarn (I chose 5 different types including some mop-ends)

sharp scissors (I bought a brand new pair)

IMG_8728

1. The first thing you want to do is figure out your pattern.  There is a ton of inspiration out there to get you started.  Once you have a general idea, you can begin!

IMG_8735

2. This project is all about “tassels”.  So begin by deciding the length of your first row of yarn and start cutting strips that are twice that length (they will be folded in half).  I suggest giving yourself extra room for trimming as well.  Once you have cut a few strands, you can use your twine to tie the strands together in the center and create a tassel.  For thicker yarn I used about 5 strands per tassel (folded to make 10), and the thinner yarn I used about 10 strands per tassel (folded to make 20).

IMG_8749

3. Once you have your tassels, you can begin stringing them through the canvas (equal distances apart – about 5 boxes), and tying the twine at the back of the canvas in tight knots.

IMG_8762

4. Because there is no weaving involved, this project is all about layers and textures.  I highly suggest creating lots of layers.  Instead of doing one row at the top with  Yarn “A”, create a short row and then a longer row underneath before you move on to Yarn “B”.

IMG_8767

IMG_8790

5. Also keep in mind, you never want your canvas to show through so make sure you build your second layer underneath the first, the third layer underneath the second, …etc.

IMG_8821

IMG_8826

6. As you create rows, you can begin trimming the ends of the yarn into straight lines using very sharp scissors.  Trim off small amounts each time until it is at the desired length.  This step is kind of like plucking your eyebrows, don’t go too crazy because these strands won’t grow back!

IMG_8835

7. Once you have all of your tassels tied, you can snip off the excess twine at the back of your canvas.

IMG_8836

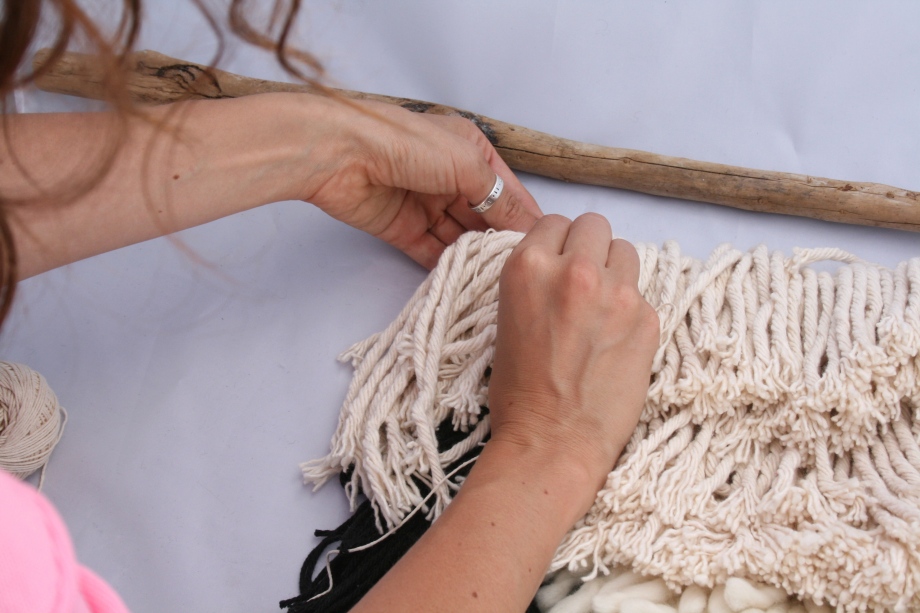
8. To attach the driftwood, use a long strand of twine and string through the canvas and around the driftwood, tying a tight knot at the back of the canvas.
IMG_8837

IMG_8839
IMG_8847

9. From here, you can begin stringing the twine through the canvas and around the driftwood at equal spaces apart.

IMG_8872

10. When you reach the end of your canvas, make sure to tighten each loop so the canvas is taught against the stick before tying your final knot at the back of the canvas.

IMG_8884

And voila! No weaving required!

IMG_8917


2


happy crafting!

xoxo, keya and erica


market dates

IMG_5840

 Creative dates are hard.  Not knocking dinner and a movie, but sometimes it’s fun to mix it up a bit.  When Erica and I started the Little Things it was very much to help keep us creatively motivated in our everyday work lives.  Not just with crafts, but everything we do.  And why not with our dates?  So every once and while when we think of a fun date idea or activity, you might see a little post about it around here!  This past weekend I thought it would be fun to spend our Saturday exploring the farmer’s market and then making a dinner from all market ingredients.

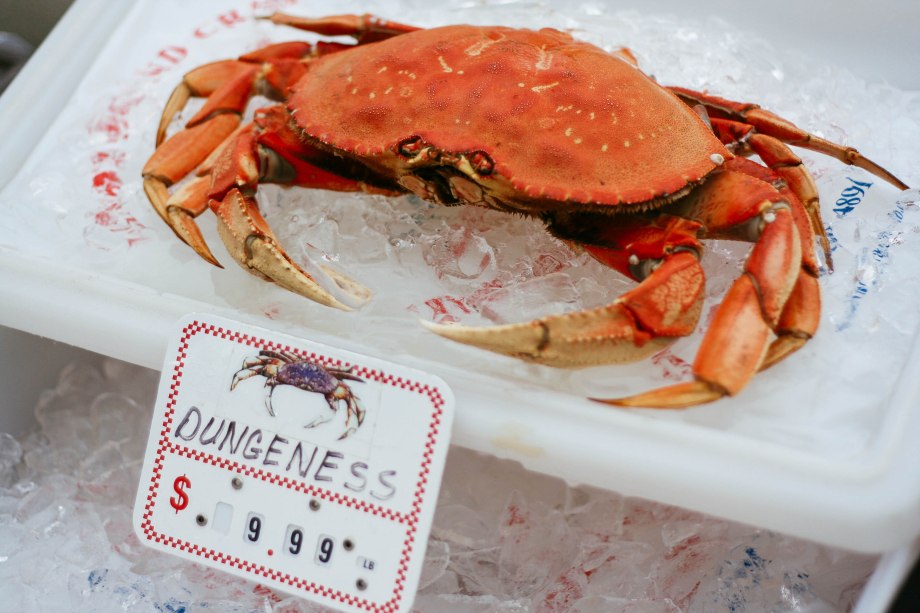
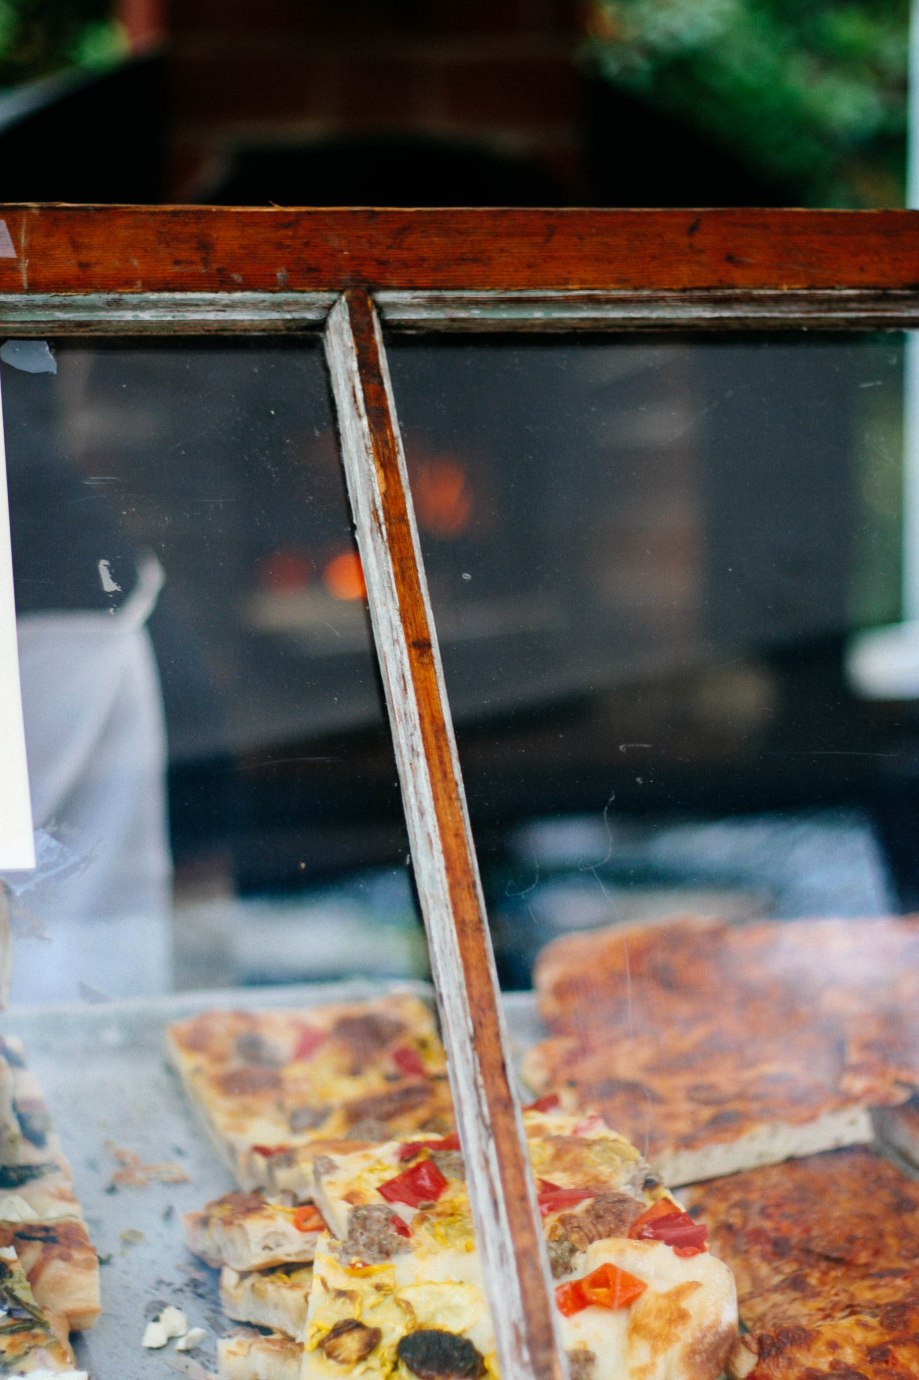
So, rewind to Saturday morning, mind bustling with the fun afternoon ahead, I woke my boyfriend up to remind him of our plans.  In all honesty, I expected him to be WAY more excited.  I mean, this is a cute idea and farmer’s markets are great so I don’t get it. Nonetheless, I powered forward, brought him coffee and reminded him that he had already promised he would go.  And thus, my very sweet and patient boyfriend and I hopped in the car and headed off to the PSU Saturday Market (a real gem for all of you visiting Portland).  Now at this point you may be thinking to yourself, why am I reading a blog post about fun date ideas that even your boyfriend doesn’t want to do?  Fear not ladies, because he will like it.  Farmer’s markets have tons of food and usually a good helping of puppies so it’s really a mix that nobody can resist.  We ended up spending a few hours strolling the aisles, sampling different products and chatting with the farmers.  I think that we can both agree that the highlights were kombucha, focaccia pizza, and spotting a mini husky puppy (honestly, the puppy was the highlight.  Never seen anything cuter.)

IMG_5863


IMG_5856 - Copy

We grabbed our normal lettuces and fruits and a pack of beautiful homemade pappardelle.  Then we happened upon a local meat stand specializing in rare meats.  This ladies, might be one of the issues with bringing your guy to the market, because upon his sparked interest, I found us leaving the stand with a pound of ground yak meat.  (Definitely a new one for me).  A bolognese sauce was on the horizon.  We picked up a fresh loaf of bread, some lacinto kale, rhubarb, and some fancy local salt for fun.  Also I tried all of the cheese and wine samples.  All in all, it was a lovely way to spend the early afternoon.

IMG_5842

IMG_5861

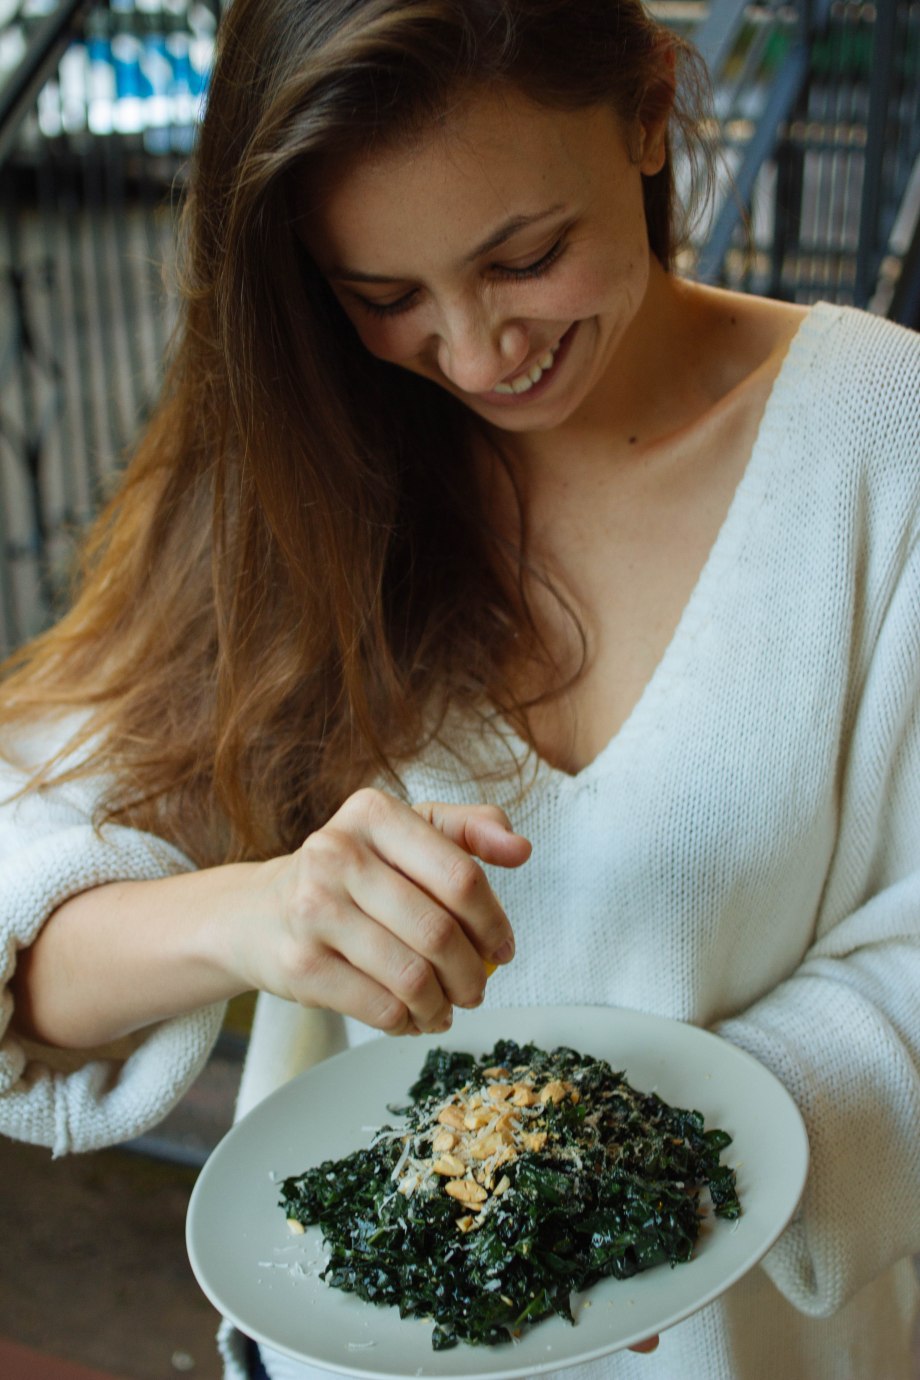
When we got home, I made a strawberry rhubarb pie because I couldn’t resist.  Also, the bf loves pie.  We made a bolognese sauce, substituting the yak for beef.  True story guys, it wasn’t bad.  I couldn’t tell the difference.  After admitting this though, the bf said that he wanted to try yak steaks to really compare.  Eeeek not where I saw that little truth heading- biting my tongue next time!  I also threw together a lemony kale salad (MY FAVORITE).  If you want the best kale salad recipe ever, check out my mom’s blog.  You’ll thank me later.  All in all, I would say the date was a success.  

IMG_5845 - Copy

IMG_4949 - Copy

IMG_4942 - Copy - Copy

Are you a fan of your local market?  What are some of your favorite finds?  Hope everyone has some fun weekend plans!

xoxo, Keya


lime infused vodka

IMG_6084

Can we just take a moment to sing the praises of one of my favorite cocktails, the moscow mule?  Light, refreshing, citrusy, and a wonderful ginger kick? Man, I could go for one of those right now.  But, alas, I am writing this post at 11 am so…I’ll refrain.  I’ll admit that one of the favorite parts of the mule is that I can’t taste the vodka- that’s the sign of a good cocktail right there folks.  And how to better disguise the flavor?  Infused vodkas.  Oh yes.

My love for moscow mules aside, you can use any citrus that you like and add it to your favorite cocktail.  Lemon infused for lemon drops?  It’s super easy and simply requires a little bit of time to infuse.  So make ahead of time and store in your fridge so you’re ready whenever 5 o’clock happens to roll around.

Ingredients:

vodka

1 lime (peels)

a clean jar

IMG_6091

How to:

Pour your vodka into your clean jar.  You can make as much as you want.  If you’re planning on infusing your vodka for a party and want to use the whole bottle, then feel free to go ahead and use that bottle.  Add lime peels.  I used about 1 limes worth for mine.  Exact amounts aren’t imperative, and just be sure to adjust accordingly depending on how much you make.  Store in the fridge for about two weeks.  After infusing, strain your vodka to remove lime peels, and store in the fridge until you’re ready to use it!

Enjoy!

IMG_6093


xoxo, Keya


rosemary grapefruit spritzer + rosemary simple syrup

IMG_6015

IMG_5972

One of the things that I love about cocktails is how limitless the options are.  Once you’ve accumulated a sufficient collection of hard liquor and mixer options, you can pretty much make anything.  Sometimes I have an idea for one cocktail, and end up being inspired to try three other options.  Usually when I’m trying different things I make baby versions of the cocktails so I don’t have as much waste and well…sometimes you have to sample a few batches…

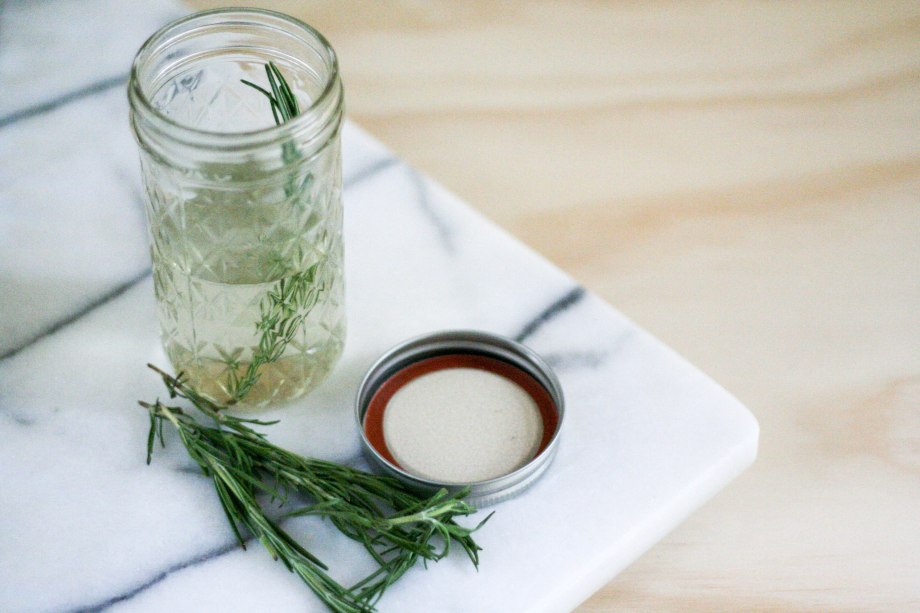
A great, and inexpensive way, to mix up your homemade cocktails is to make your own flavored simple syrups.  This is something you’ve seen a few times around here (1, 2) because we’re big fans of it.  All you need is sugar, water, and your flavor of choice.  I’m currently really loving making herb-infused syrups, so get excited to see more herby cocktails in the near future!  This one is sweet and a little tart and oh-so refreshing!

Rosemary Grapefruit Spritzer:

1 oz. vodka

3 oz. grapefruit juice

1/2 oz. rosemary simple syrup (recipe below)

sparkling water

Mix vodka, grapefruit juice, and rosemary in a cocktail shaker with ice and shake thoroughly.  Pour into martini glass and top with sparkling water.  Garnish with a sprig of rosemary and a slice of grapefruit.

IMG_5995

Rosemary Simple Syrup:

1/2 c. sugar

1/2 c. water

3 sprigs of washed rosemary

Combine all ingredients in a pot and simmer for about 20 minutes, or until the sugar as dissolved and you feel the rosemary is sufficiently infused.  Let cool.  Strain rosemary from simple syrup, and store in the fridge.

IMG_5974

xoxo,

Keya

watercolor pineapple print

IMG_5048

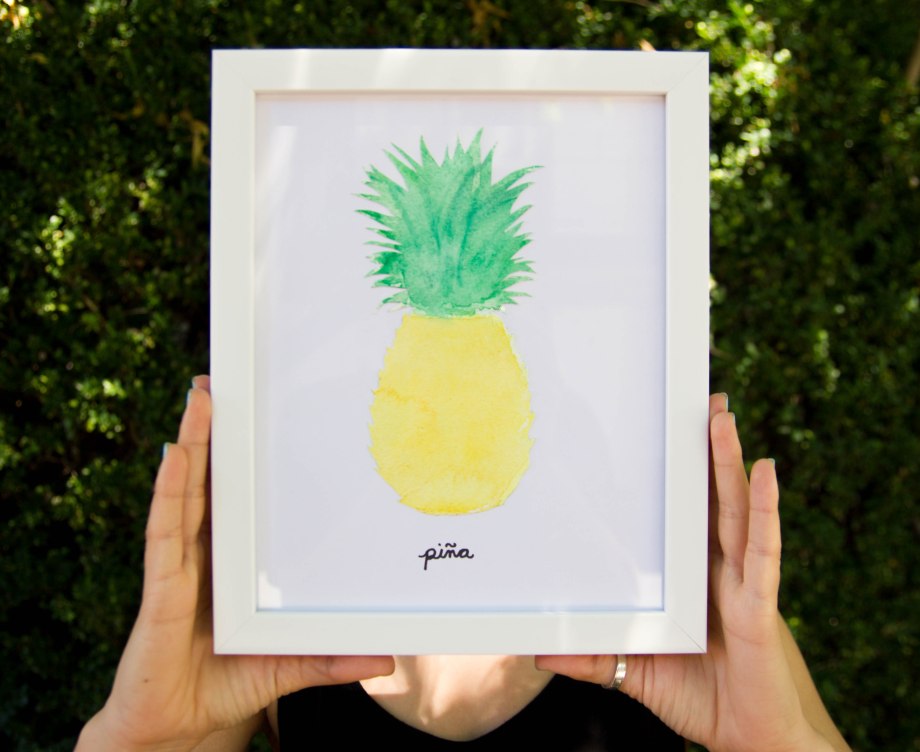
This little print is so cute and easy to make, and will make the perfect summery addition to my kitchen walls.  I’m thinking of making a few more of different kinds of fruits and veggies to hang with it.  As long as you’ve got watercolors and paper, the total cost of this project is the frame, which makes it a really affordable way to decorate!

tools:

pineapple stencil  (this is the link for the stencil that I used)

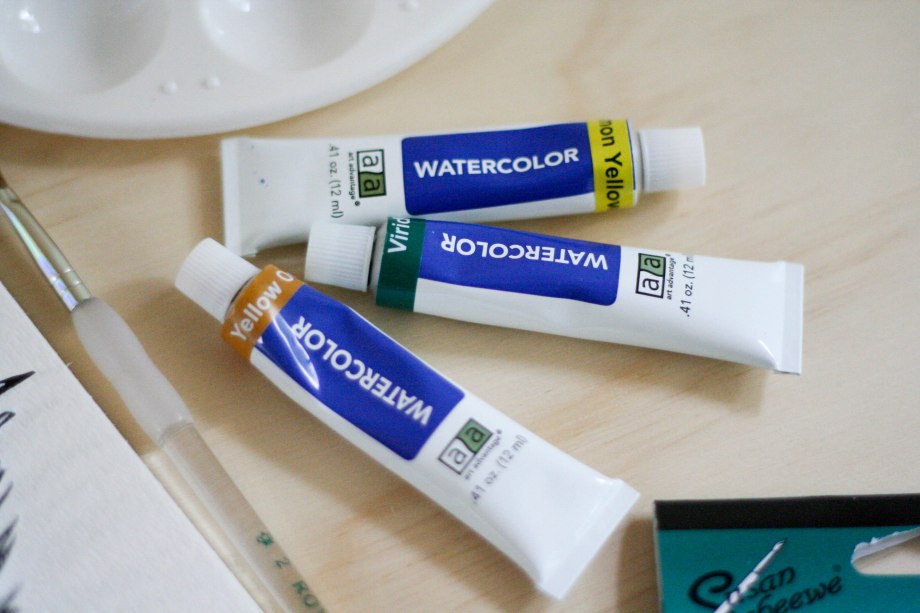
watercolors + paintbrushes

watercolor paper

wax resistant sticks / pencil

frame

spray adhesive

white card stock / thick paper (measured to size of frame)

how to:

     First you’ll want to select and print out your stencil of choice.  I wanted mine to have lot of detail for the pineapple leaves, but I think that a simpler stencil would be really cute as well.

IMG_5925

     Once you’ve cut out your stencil, place it in the center of your watercolor paper and make a thick outline with the wax resistant sticks.  I tried this project a couple of ways, just outlining the stencil in pencil and with the wax.  I personally like using the wax because it holds the paint inside of the stencil marks and creates a darker outline around the design where the paint is trapped. Also, make a thin line between the fruit of the pineapple and the leaves to prevent color bleeding.

Untitled Export

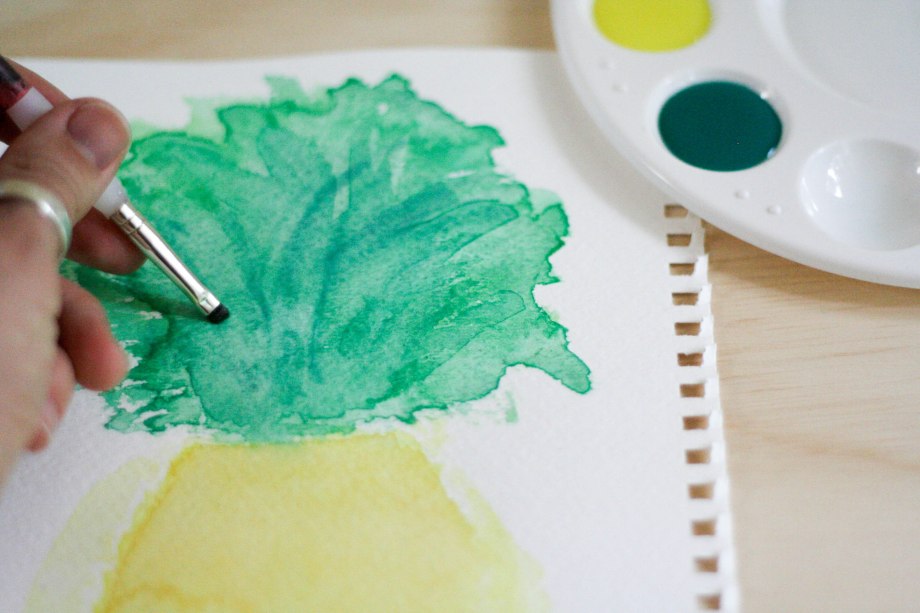
     Mix your watercolors to your desired color.  I wanted my yellow and green to be bright.  I mixed a few variations of each, but ended up mostly using the pure yellow.  I used more variations of the green to create the effect of multiple leaves.

IMG_5926

     So the picture below was kind of my trial and error run, and I’ve got some tips to share from it!  I found that the final project turns out a lot better if your paint in layers.  First by finishing the yellow portion before painting the leaves; this will help prevent the two colors from bleeding into each other, as you’ll see in the picture below.  (If this happens, then quickly dab at the paint with a paper towel to remove it, and paint over the problem section.)

IMG_5957

     Another tip is that the thicker the wax outline the better.  I thought that I would be able to freely run my paint strokes over the edges of the outline and that it would remain, but that didn’t really work out.  So the next time around I did the thicker outline and I was much more conscious about getting too much water on the wax and was much happier with the results.

     Paint a light coat of paint first and let it dry.  Then paint a second or third coat depending on your desired color. Have fun making the paint thicker in some areas and lifting your paper to let the paint run and blur.  This creates the pretty watercolor effect.  For the leaves I brushed arching stroked from bottom to top with varying colors, letting them dry in between.

     Once your painting is dry, it is time to cut it out.  If your outline isn’t exact enough, place the stencil over the top, and outline once more in pencil.

IMG_6043

     Spray the back of the pineapple with spray adhesive and gently lift and place onto your card stock in the center.  Let dry and place in your frame!  I wrote “piña” on mine, and to make it fit, I placed my pineapple slightly above center- this part is up to you!  There are so many ways to interpret this craft depending on what you want to make!  I’m thinking tomatoes and watermelons next… Clearly summer is on my mind!

IMG_6056

xoxo, Keya