
Today is March 14th, a.k.a. Pi Day, and we couldn’t think of a better way of celebrating than with lots of pie! Inspired by our pre-calculus teacher Mr. Cole’s enthusiasm for Pi Day in our senior year of high school, we first made mini pies. We gave them to all of our teacher’s, (we know, we’re kiss-ups), and now they’re our favorite way to have pie! Easy to serve, fun to make, and impossibly adorable, you’ll want to try this recipe for yourself!
ingredients:
(makes approx. 12 mini pies)
-6 Granny Smith apples
-3/4 c. sugar
-1 tsp. cinamon
-2 tbsp. flour
-4 tbsp. butter
-2 packages Pillsbury pie dough (or you can make it homemade)
recipe:
Preheat oven to 350 degrees.
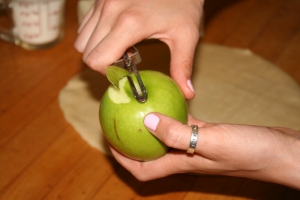

Preheat your oven to 450 then peel, core, and slice all the apples. You can easily do this by hand or with an apple peeler!
After your apples are peeled and sliced, mix in the sugar, cinnamon, flour, and butter.
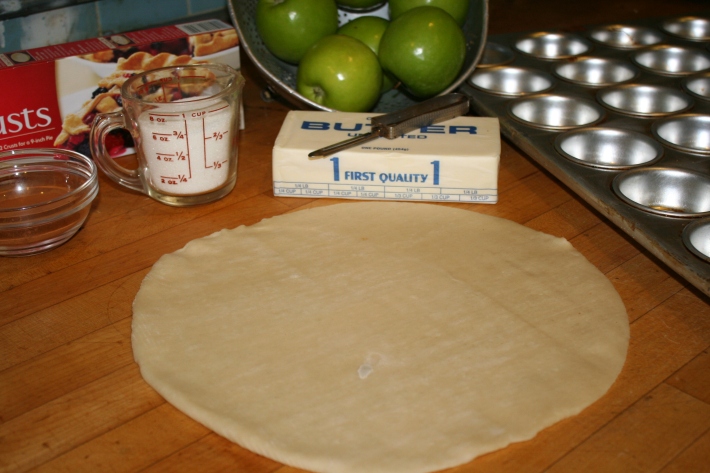
Take out your pie crust and roll it out.

Use a knife to cut a circle large enough to cover both the bottom and sides of your muffin cup. We used a small bowl as our stencil.

Make sure you grease your muffin pan really well so that the pies come out! Place the dough into the cup. Starting from the middle of the dough, mold around the cup, making sure to have a little bit of a lip around the edge. Repeat until you have used 2 rolls (1 box) of the dough.

Once all your dough is layed out, fill them to the top with your apple mixture.
Now is the part where you can be as creative as you’d like! Roll out the next 2 rolls in the second box of dough to use for the tops of your pies. Our favorite way to decorate our mini pies is by creating a lattice top. To make a lattice top, cut the dough into thin long strips.
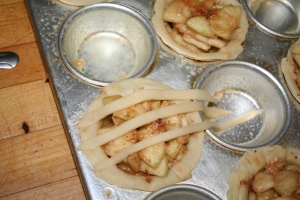

Lay out your strips over the pie equally, then begin weaving the strips in the opposite direction through your first layer of strips. Make sure you are weaving over, under, over, under.


With the next strip, you will be weaving the opposite direction of your first. So if your first strip was weaved over, under, over, under, the next strip should be weaved under, over, under, over. Repeat until you have covered your pie and then cut away the excess around the edges. Press your thumbs around the sides to make a decorative edge!

And in the spirit of Pi Day you can cut a pi symbol out of your crust to use as a decorative top for over your lattice work!
You can be as creative as you’d like!
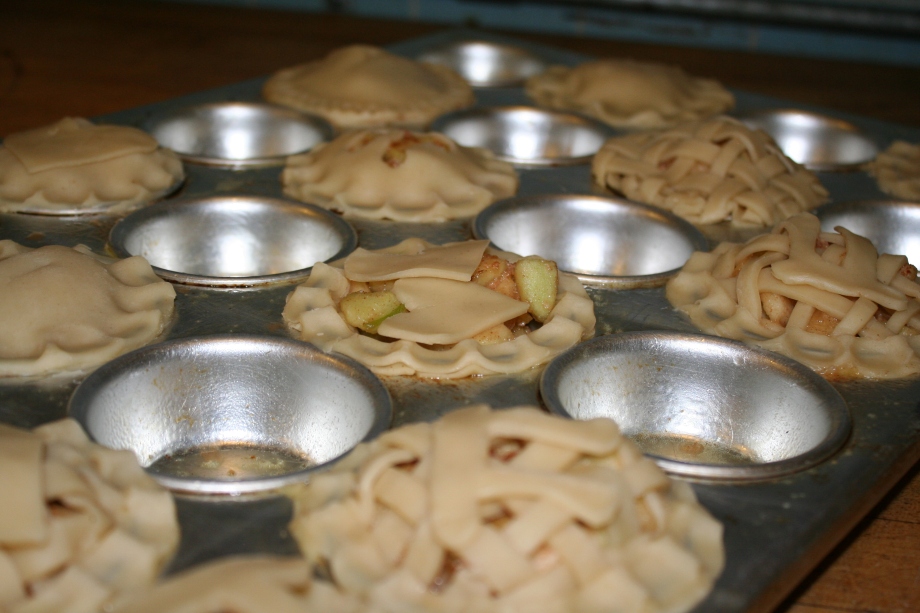
Cover all of your mini pies and you’re ready to stick them in the oven! Bake your pies at 450 for about 10 minutes then turn your oven down to 350 and bake until the crust is golden brown. This takes about 15 minutes but make sure to continuously check on them so they don’t burn!

We love to cut up our leftover pie dough, sprinkle some cinnamon and sugar on them and make them into little pie crust cookies! Just stick them in the oven with your pies for about 10 minutes and enjoy these little treats while you wait for your pies to finish cooking!

Once they come out of the oven, let them sit for about 10 minutes.

Once your pies have cooled, use a knife to cut under the edges of the crust to make sure they do not stick to the pan. Then use a fork to carefully remove your pies!
Serve with ice cream and enjoy!
These pies make great gifts for any pie lover (and who isn’t?)! Happy Pi Day!
xoxo,
Keya and Erica


