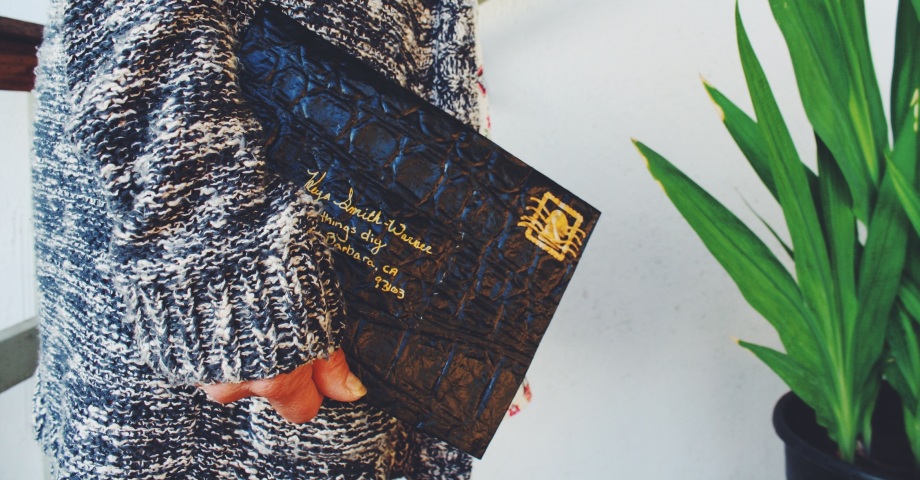
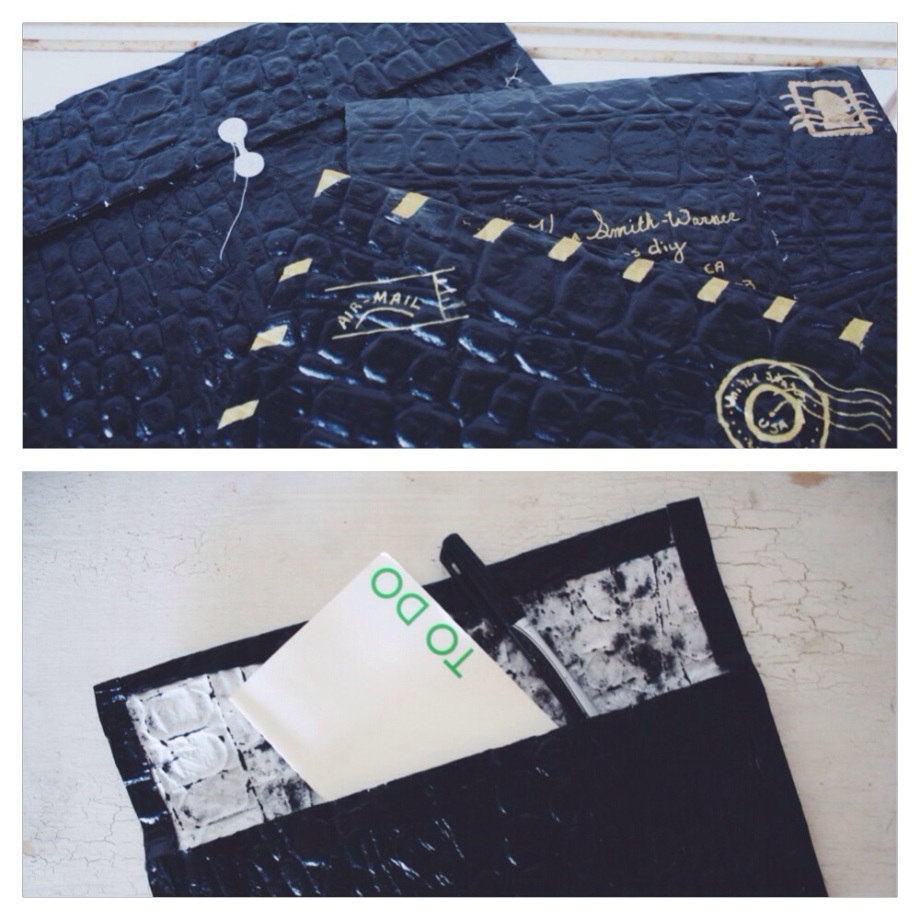
I’m obsessed with everything snail mail. Letters, stationary, stamps, wax seals, etc etc. There is nothing more wonderful than getting a good old fashioned letter. So when I saw these Anya Hindmarch Bespoke clutches made to look like letters, I couldn’t resist making one myself.  Tools:
Envelope material (paper, leather, cloth, etc.)
Hot Glue
Cardboard
Snaps
Buttons
Gold Metallic Sharpie
Clutch 1:
 Use a book to measure out a piece of cardboard (a cereal box works well) to the size of clutch you want. Then, using that as a starting point cut out a piece of material in this shape. The bottom is slightly less than half the height of the clutch, and the left flap is longer than the right (this is important). Note: I left the edges on the top of the clutch and folded them over and glued them to give it a more finished look. I also folded down the top of the flaps and did the same. First fold up the bottom flap and, working quickly, cover it in hot glue. Fold the right flap over, and then make a thin line of hot glue on the outside edge of the right flap so that when you fold down the right side it attaches to both the bottom and the right side of the envelope. Once dry, glue one side of the snap to the inside top of the envelope. Then match the second half of the snap to the bottom side of the envelope and glue into place. Done!
Clutch 2:
Use a book to measure out a piece of cardboard (a cereal box works well) to the size of clutch you want. Then, using that as a starting point cut out a piece of material in this shape. Note: I left the edges on the top of the clutch and folded them over and glued them to give it a more finished look (I did the same to the bottom edge). First, fold up the bottom half of the clutch. Run a thin line of glue on one of the thin side flaps and adhere to the clutch, do the same on the opposite side. Once done, sew a button on the top flap the clutch, and a second button in line on the bottom half of the clutch. Tie a piece of string or embroidery thread around the bottom button and loop it around the top and bottom to close. Done!


Love this!
Pingback: happy anniversary to the little things! | THE LITTLE THINGS