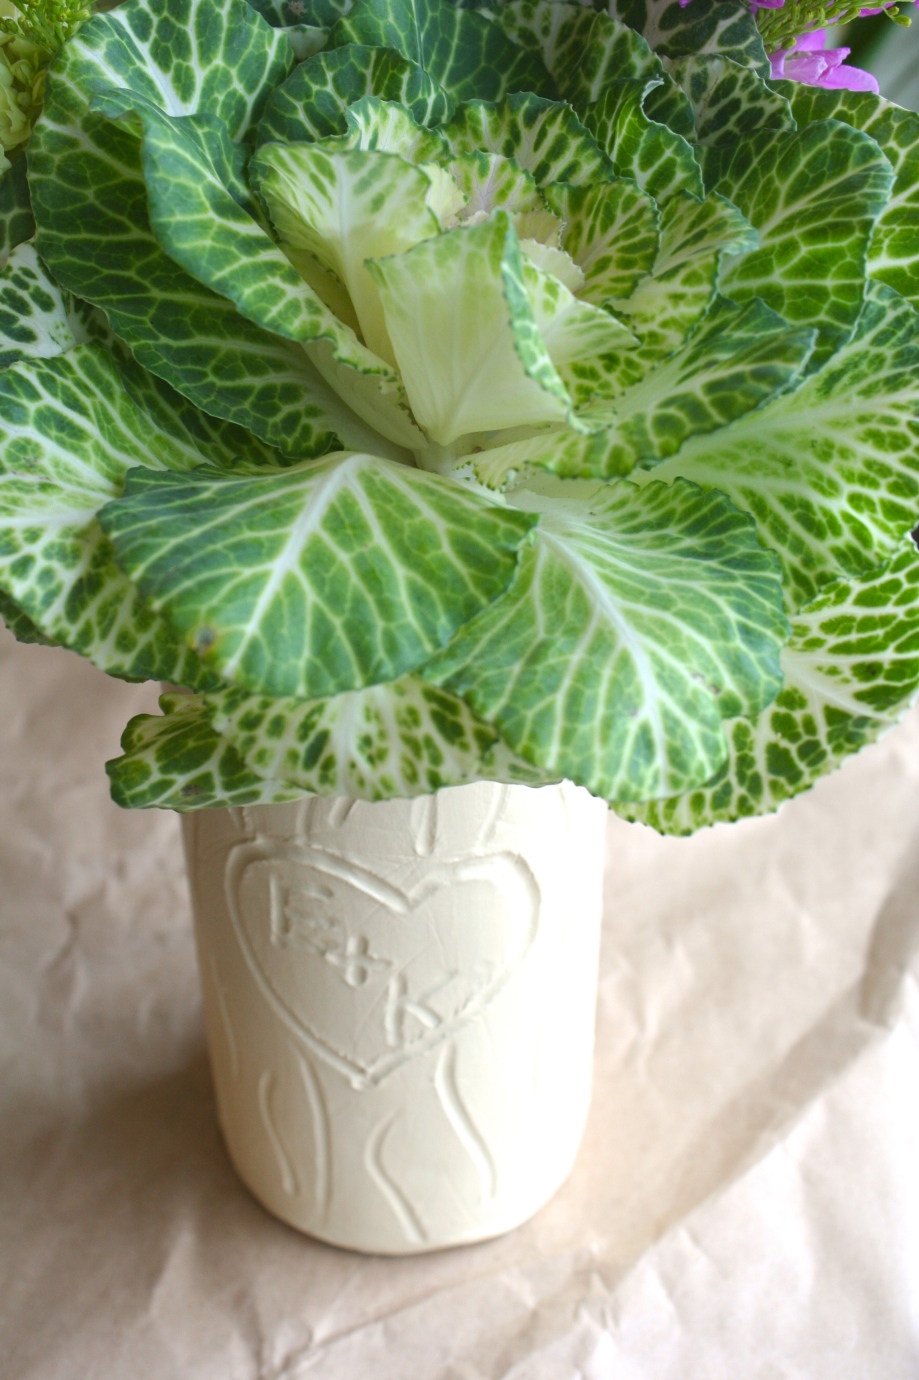
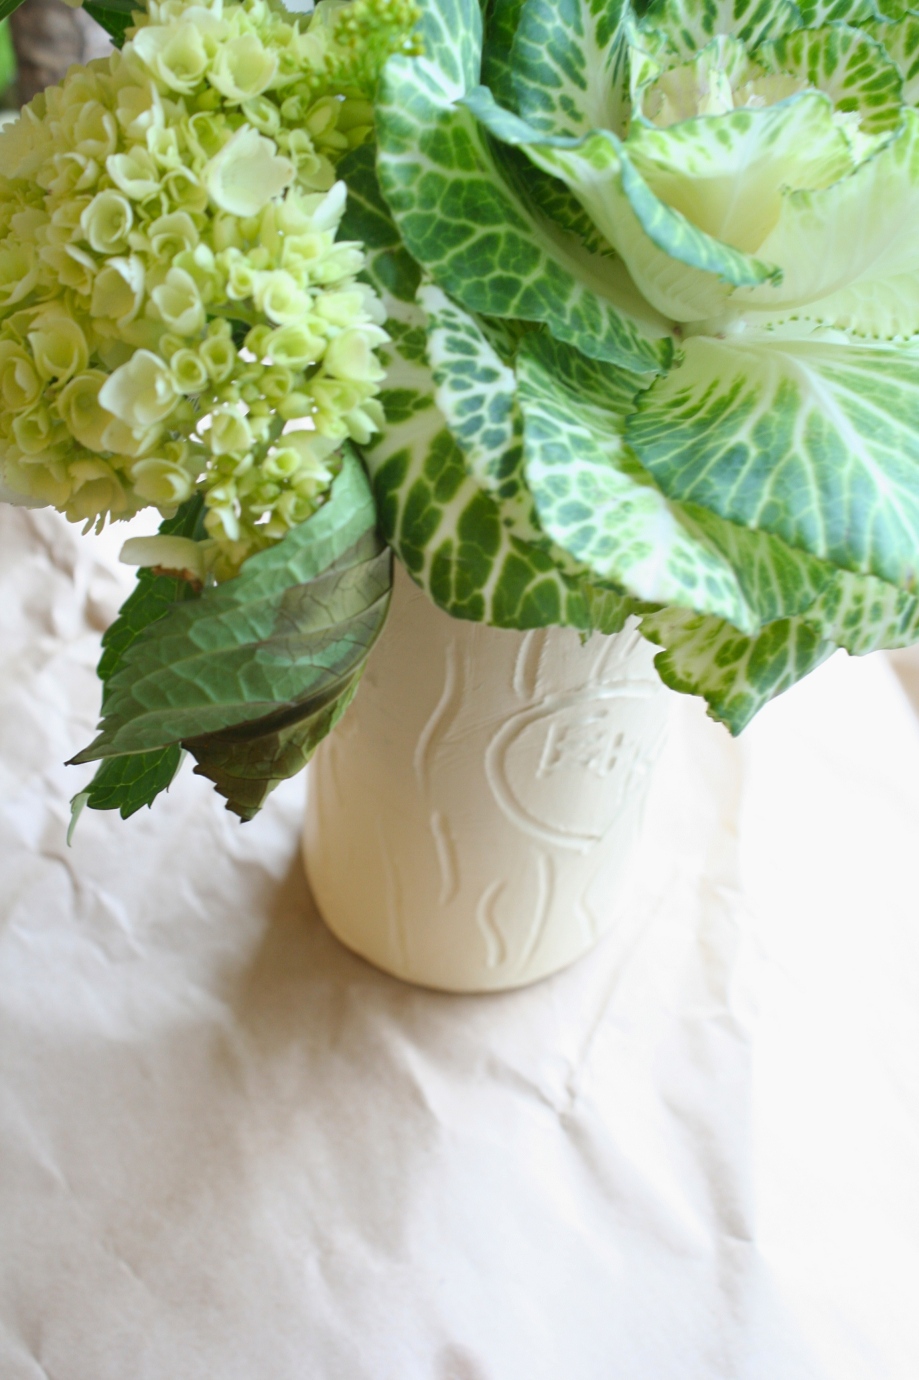
This cute vase is an homage to every lovers name carved into a tree. And what better way to display your Valentine’s Day flowers? This DIY explains the basics for making a standard air-dry modeling clay vase, and the decorating possibilities are endless. I think I’d like to make a few more in the future with simple geometric designs and in varying sizes.
The beauty of this project is that you can make a pottery vase without the hassle of having to fire it in a kiln. Because it is air dried instead of baked, the clay itself is much more fragile. To make my vase sturdier, I used a real glass vase that I bought at the thrift store and modeled the clay around it, which has the dual purpose of preventing the possibility that the vase could leak. This all might sound a bit daunting, but the vase itself is very easy to make and probably took me a total of an hour of actual crafting. The clay does need to dry for 1-2 days before painting though, so keep that in mind.
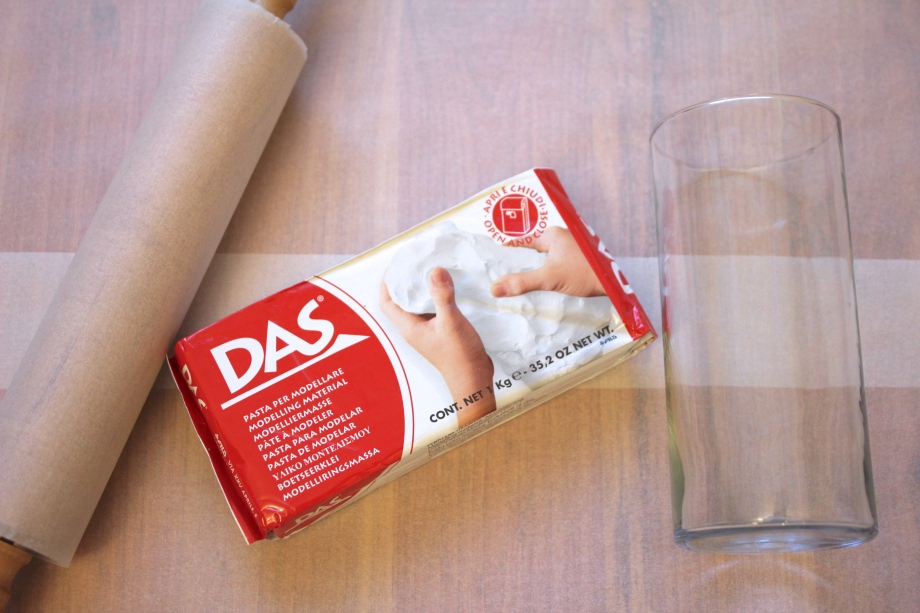
ingredients:
DAS air-dry modeling clay
vase (I found mine at the thrift store for $2)
rolling pin
carving tool/butter knife
paint
To make:
First you want to protect the surface you’re going to be working on. I taped down large sections of wax paper, which I also used to cover my rolling pin. Wash and thoroughly dry your vase. Remove the clay from the package and use the provided sticker to seal remaining clay so it doesn’t dry out. Warm up the clay in your hands by kneading it so it will be easier to roll out.
Once the clay is malleable, place it in the center of your work surface and begin to roll it out. This might take a bit of time and patience, but go slowly so you don’t tear the clay. I found it is different from pottery clay in that it is not as easy to meld pieces and that using a bit of water doesn’t seal imperfections as easily. Continue to roll out the clay in the same way that you would pie dough, with even controlled rolls from the center of the circle working towards the outside. In this case, you are going to want to roll your clay into a rectangular shape. Consistently lift and flip your clay over while you’re rolling to prevent it from sticking on one side (the wax paper helps with this too).
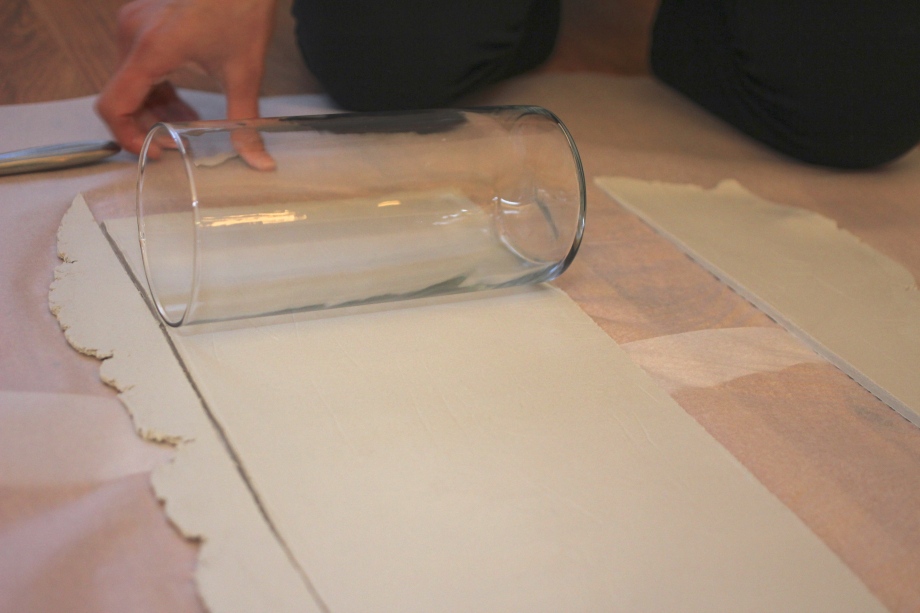
Once your clay is about a quarter inch thick, use your vase as a ruler to cut off the excess clay on the top and bottom.
Then cut a clean edge on one side and roll the vase over until it meets the clay on the other side. Be careful NOT to roll your clay too tightly. The clay shrinks a bit as it dries, and rolling it too tightly will cause the outer vase to crack. Leave a short lip of overlay and cut off the remaining excess clay.
Then, using a tiny bit of water, wet the bottom edge and cover with the overlapping clay. Using your fingers, gently press and seal the edge.
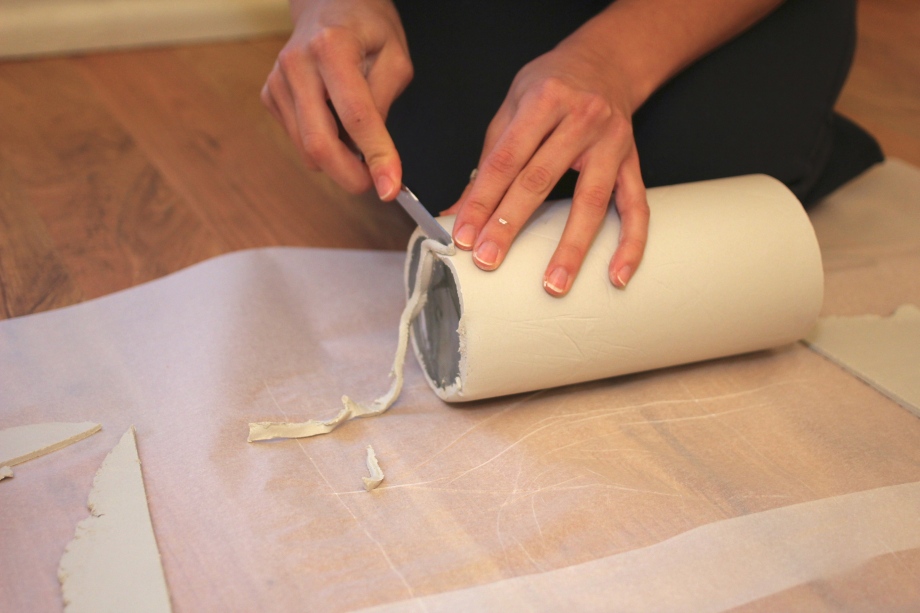
Cut off clay at the bottom and smooth the edges under your vase. Roll excess clay over the top and into your vase to create a rounded lip.
Now it’s time to carve your design! You can use anything really to carve, even a stamp. I used a butter knife and drew simple ridges around the vase mimicking a tree trunk and carved a heart in the center with my boyfriend and my initials in it. Perfect Valentine’s centerpiece!
Once you’ve carved your vase let it dry for one to two days. When it’s done, it will feel dry to the touch and will have an overall white paper-ey color. Once it’s dried you can paint it if you want or leave it it’s natural color. I painted mine with 2 coats of acrylic paint and sprayed a coat of clear acrylic sealer over it. Another painting idea I want to try is mixing the acrylic paint with acrylic varnish, which gives it more of a glazed look.
xoxo, Keya






Really love this,Thanks for posting the method 🙂
This is adorable!